Sunday, January 13, 2013

Guiltless Alfredo Sauce

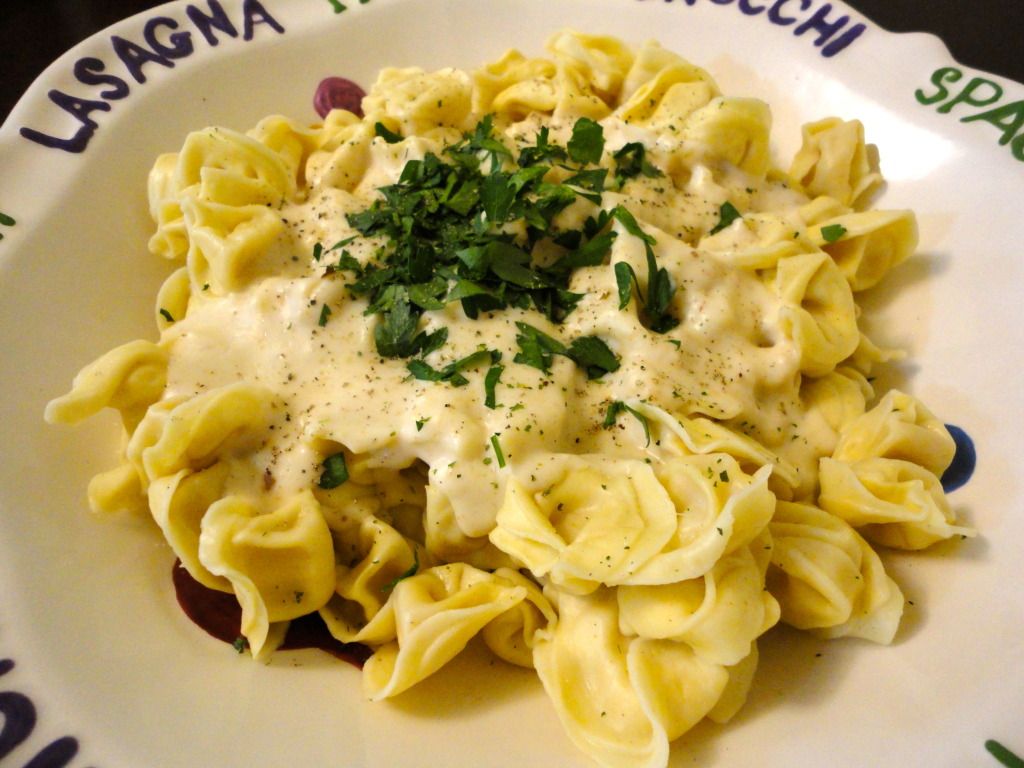
Being the italian girl that I am, I love my classic marinara sauce. My mom makes an out of this world crazy awesome one that I could drink through a straw. I had never even tried alfredo in a restaurant until taking a bite of a friend's dish a few years back. It was quite good, but so much different than the red sauce that I grew up with. I'd take the red stuff any day. But Lover lovesss his pasta dripping with creamy alfredo.

So one day I went searching for a recipe. I wasn't looking for a light version, but came upon this popular one from Our Best Bites and thought I'd give it a go. It's just about 100 calories per ¼ cup. They insisted it didn't taste “light” and allow me to attest that it absolutely does not. It's creamy, delicious and full of flavor! Totally better than a lot of restaurant alfredos out there, and light years better than anything you can pick up at the grocery store. Jarred alfredo = no bueno my friends.


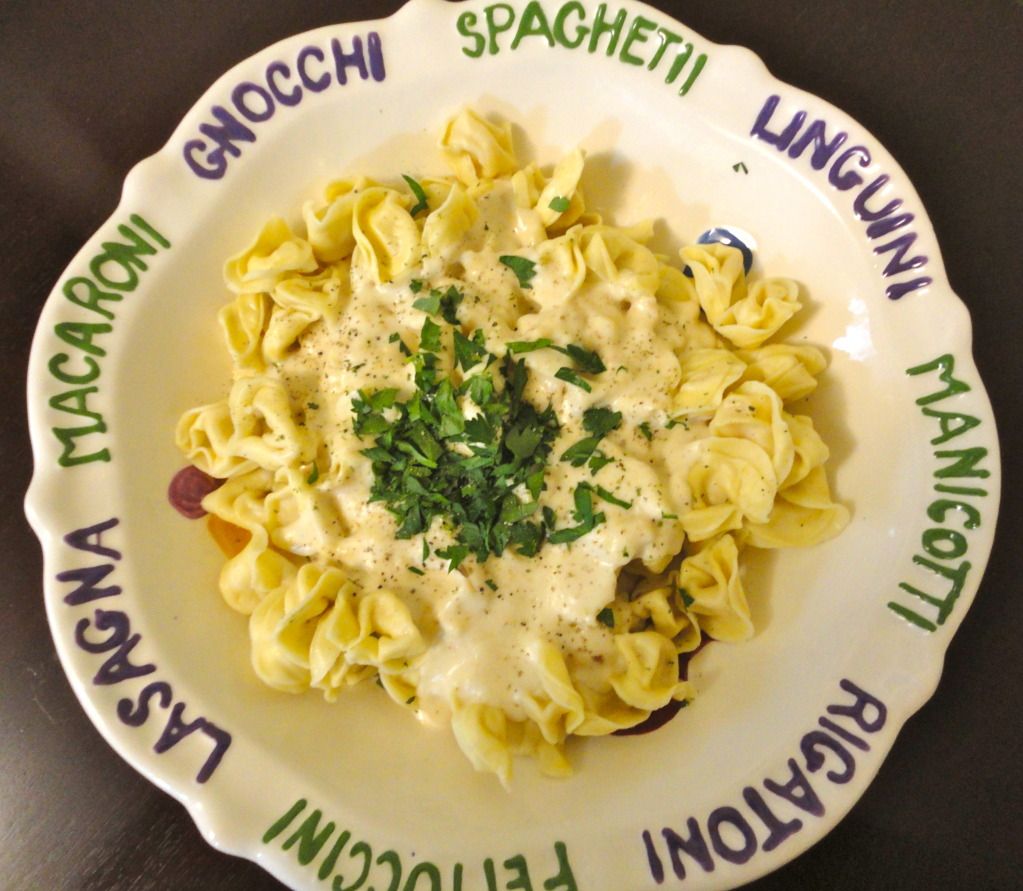
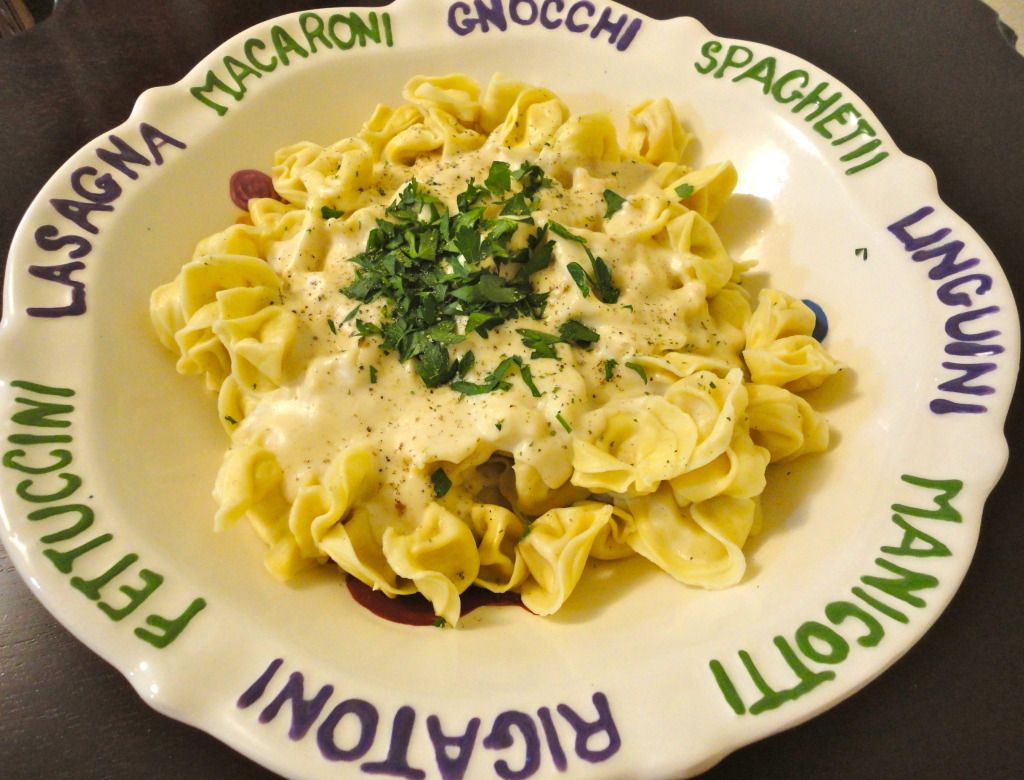
Enjoy this over pasta, as a dip for breadsticks or a sauce for pizza. I chose tortellini this time. Have I mentioned this is super quick and easy? The only con is you will have to whip out your blender or food processor. And then wash it. Which I try to avoid. But in this case, it's totally worth it.


Guiltless Alfredo Sauce
serves 6-8
adapted from Our Best Bites
  • 2 cups low fat milk (1% or 2%)
  • 1/3 cup (3 oz) neufchatel (1/3 less fat cream cheese)
  • 2-3 tablespoons flour
  • 1 teaspoon salt
  • 1 Tablespoon butter
  • 3 garlic cloves, smashed and minced
  • 1 cup grated parmesan cheese
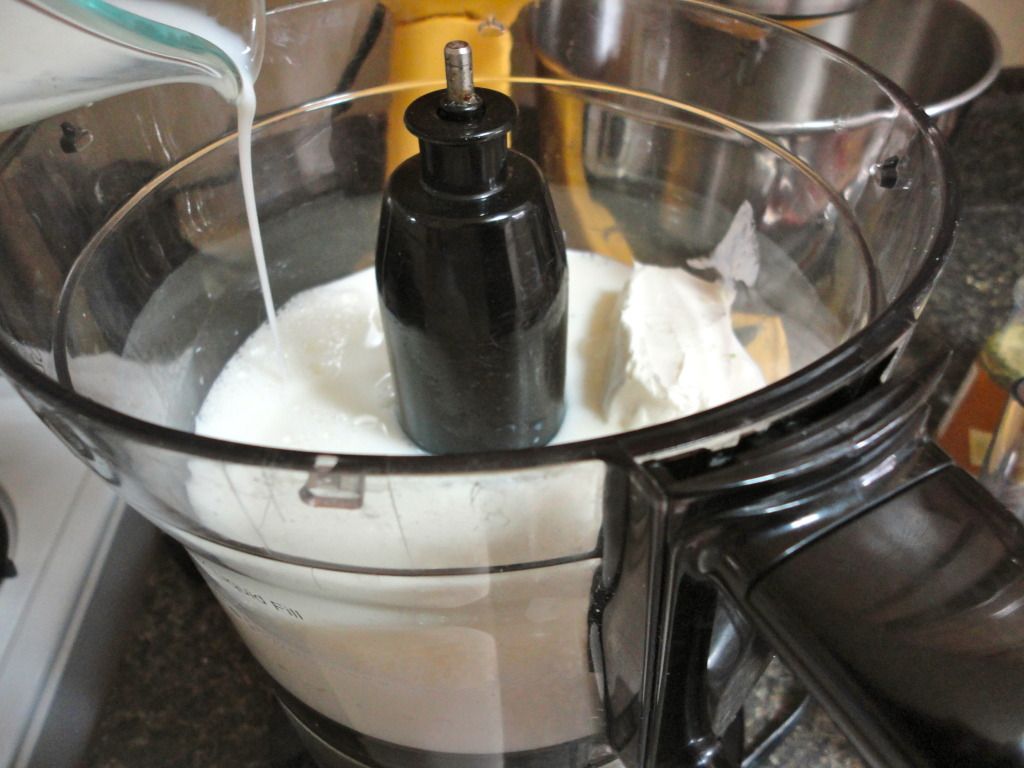
Place milk, cream cheese, flour and salt in a blender or food processor and blend until smooth, 2 to 4 minutes. Melt butter in a large pan over medium heat and add garlic. Saute about 30 second, careful not to burn it.


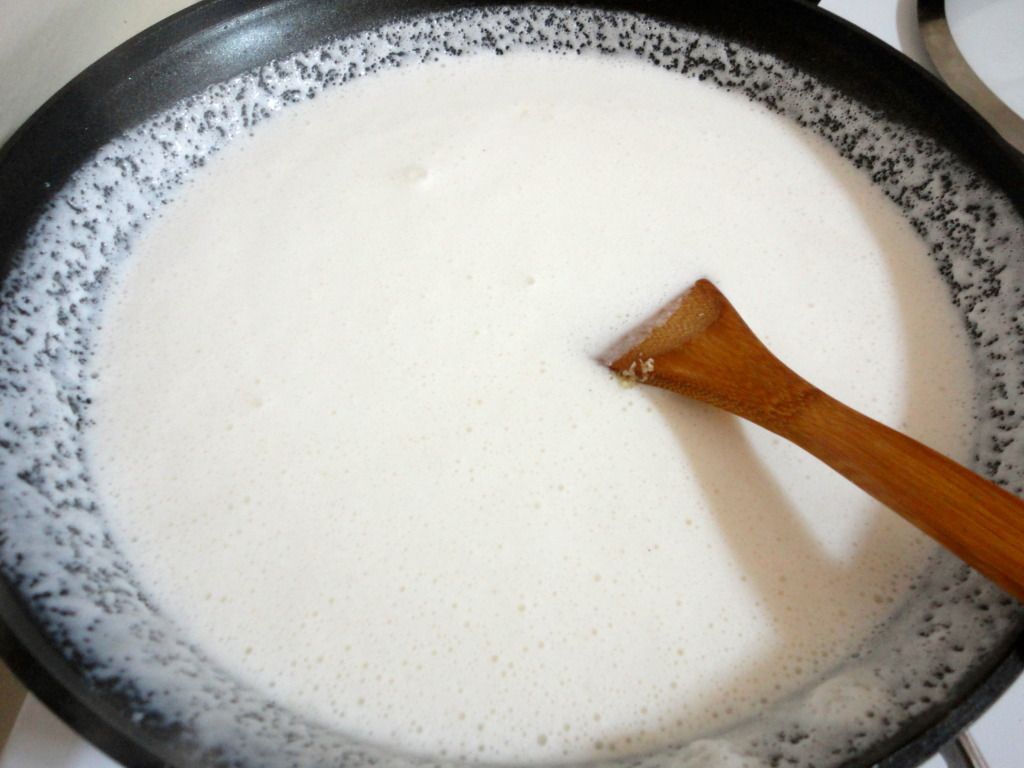
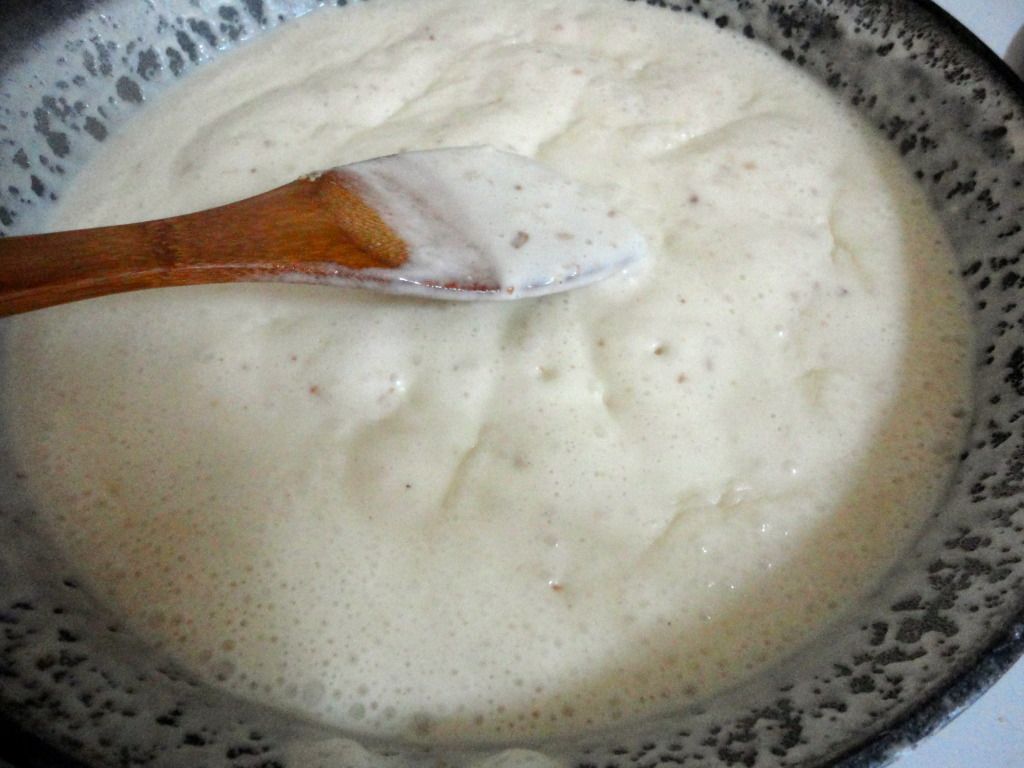
Add milk mixture to the pan and stir constantly for 4 minutes or until it comes to a simmer. Keep stirring, letting it cook a few minutes more until it thickens up quite a bit.


When it's nice and thick, remove it from the heat and add the cheese. Stir it up and cover immediately. Let stand for at least 10 minutes before serving. It will continue to thicken up while it sits. Season with additional salt and pepper if needed.

Note that this sauce will thicken to a solid in the fridge. Just reheat and add a little milk and you'll be good to go.


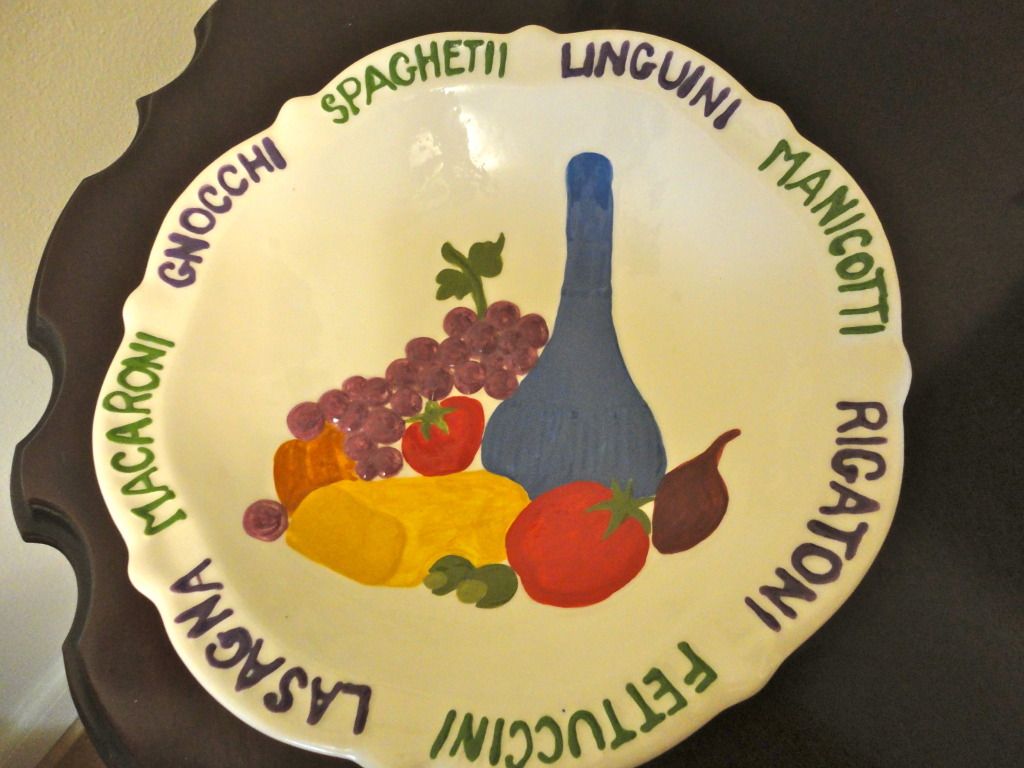
P.S. Check out my super cute pasta bowl that I made with my sister at Color-Me-Mine in Utah! Back when we were living in the same state we always did some sort of project there to celebrate our birthdays. Those were the days!


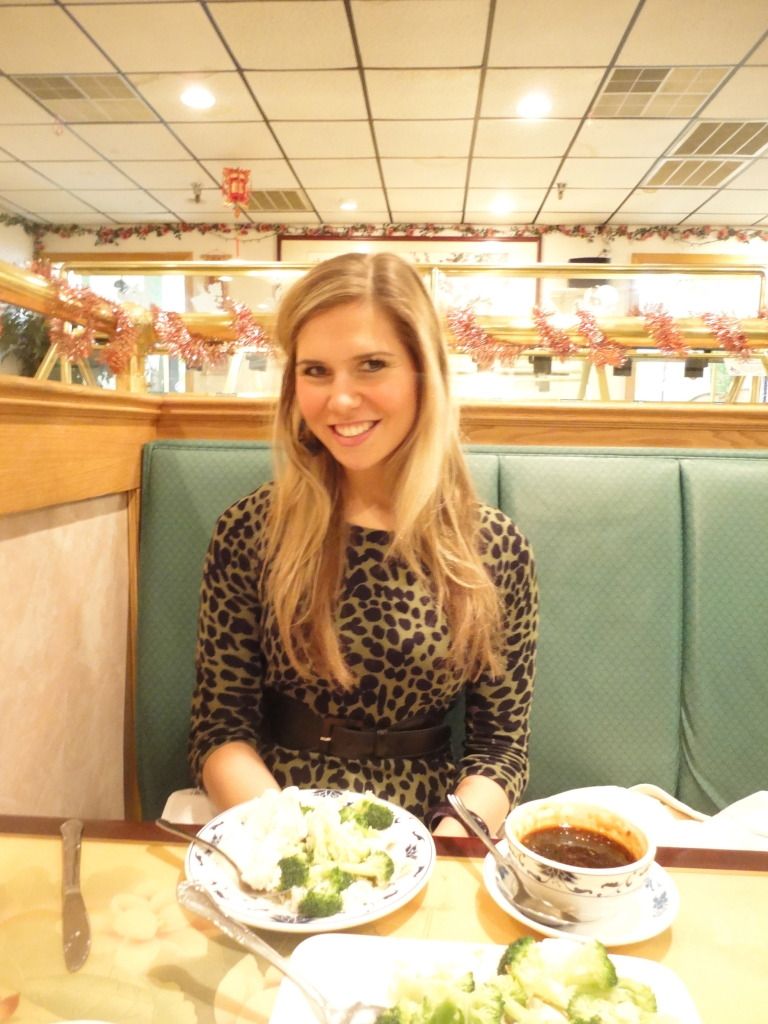
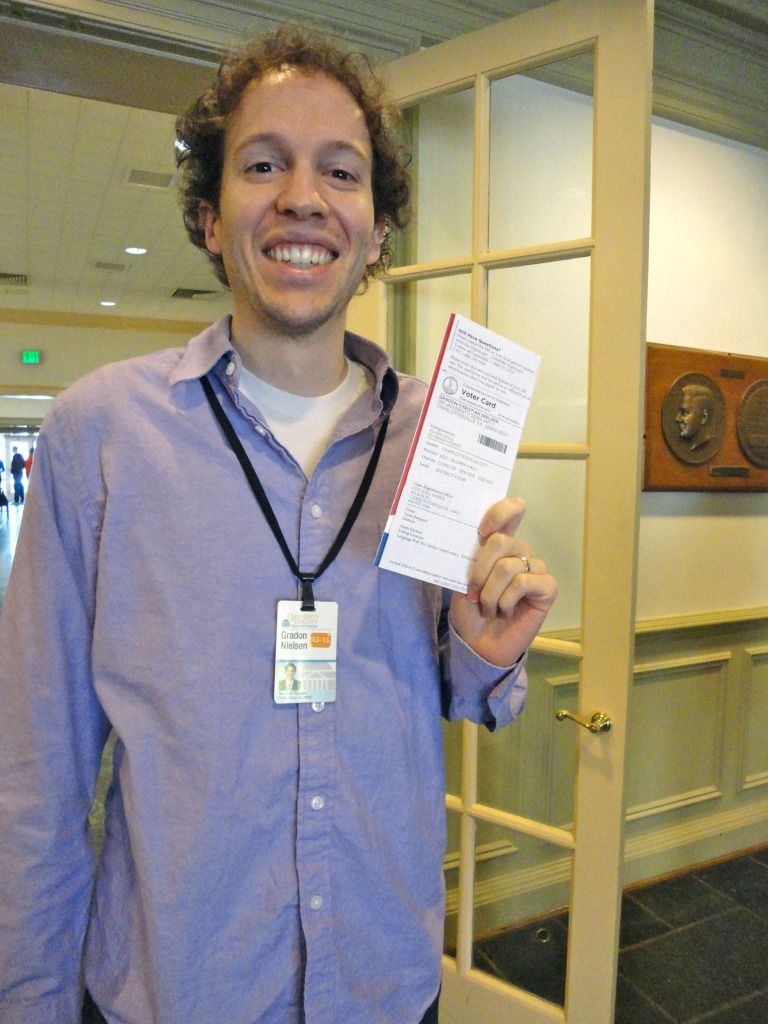
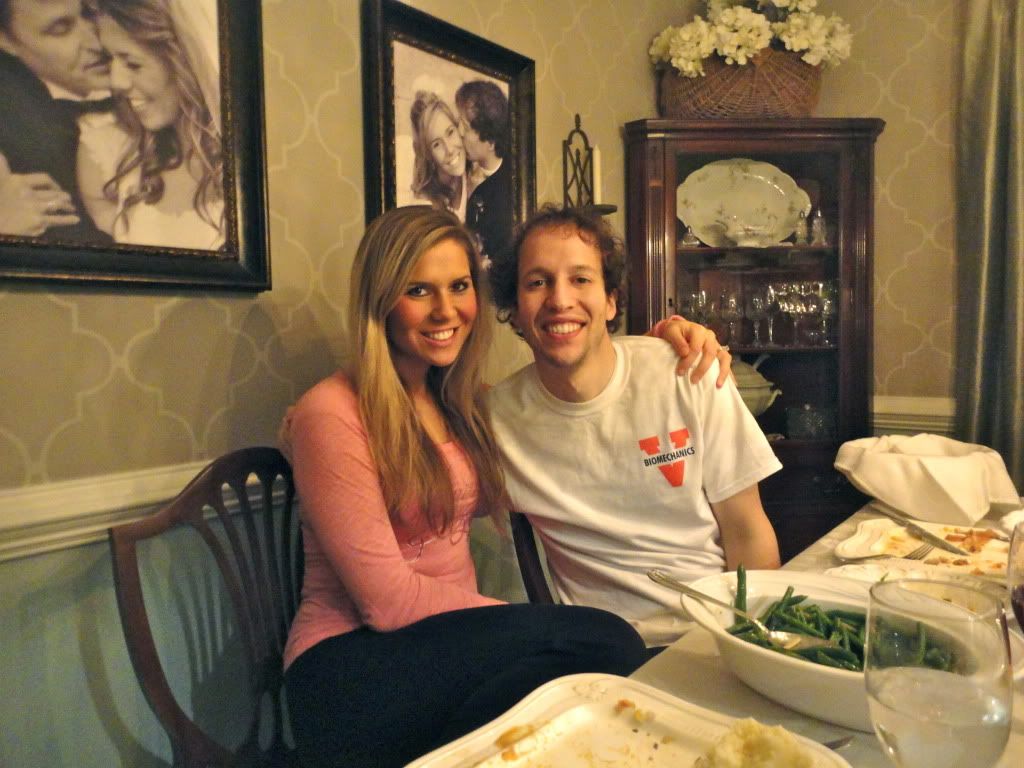
Poor G has been doped up on meds fighting the second flu he has caught in just one month! He's super stressed studying for his big med school test, the boards, so I think his little immune system has been thrown for a loop. Still we've been managing to have a little weekend fun. Here's us at our new favorite Chinese restaurant, attending our first UVA football game, eating steak at Outback, checking out a light show at Piedmont, and doing our civic duty. Happy New Year everyone! Christmas pictures to come soon!


Wednesday, December 12, 2012

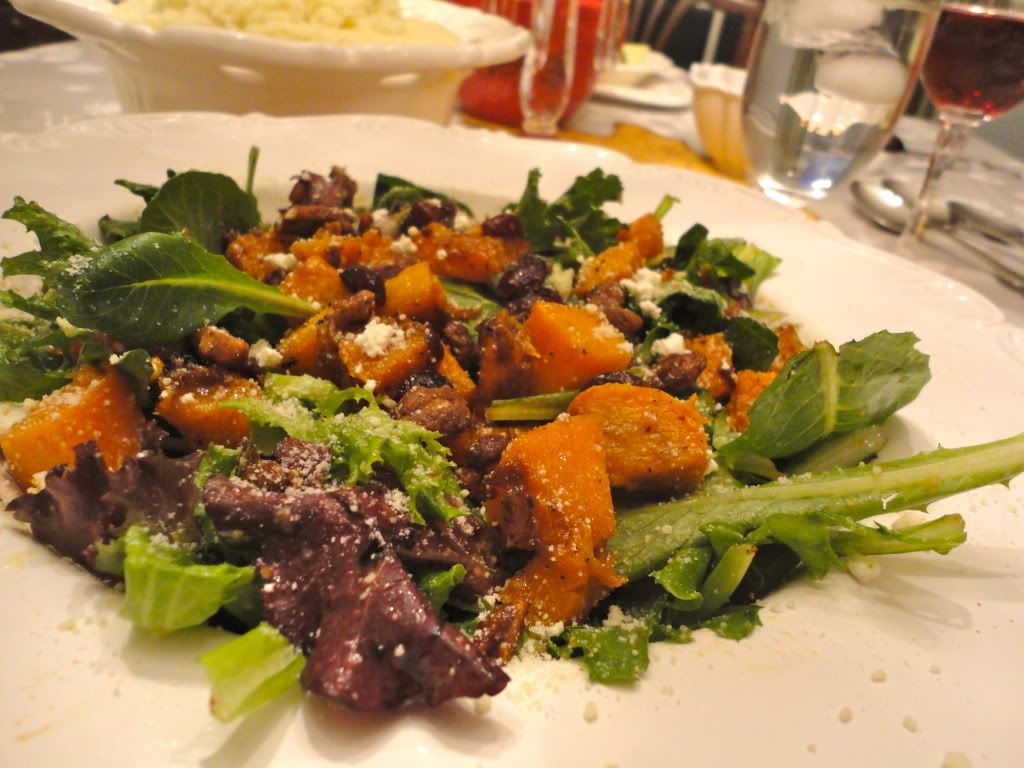
Roasted Butternut Squash Salad with Warm Apple Cider Vinaigrette

Butternut Squash is not to be underestimated. Its funny shape makes it difficult to cut and it has a mega thick skin that requires a fair amount of time to peel. But do not let that deter you from making this salad! Pay a couple of extra bucks to get it already peeled, diced and ready to go. (It will save you lots of time!) Or pull the guys away from the TV to help you prep. Trust me, it is worth the extra effort!

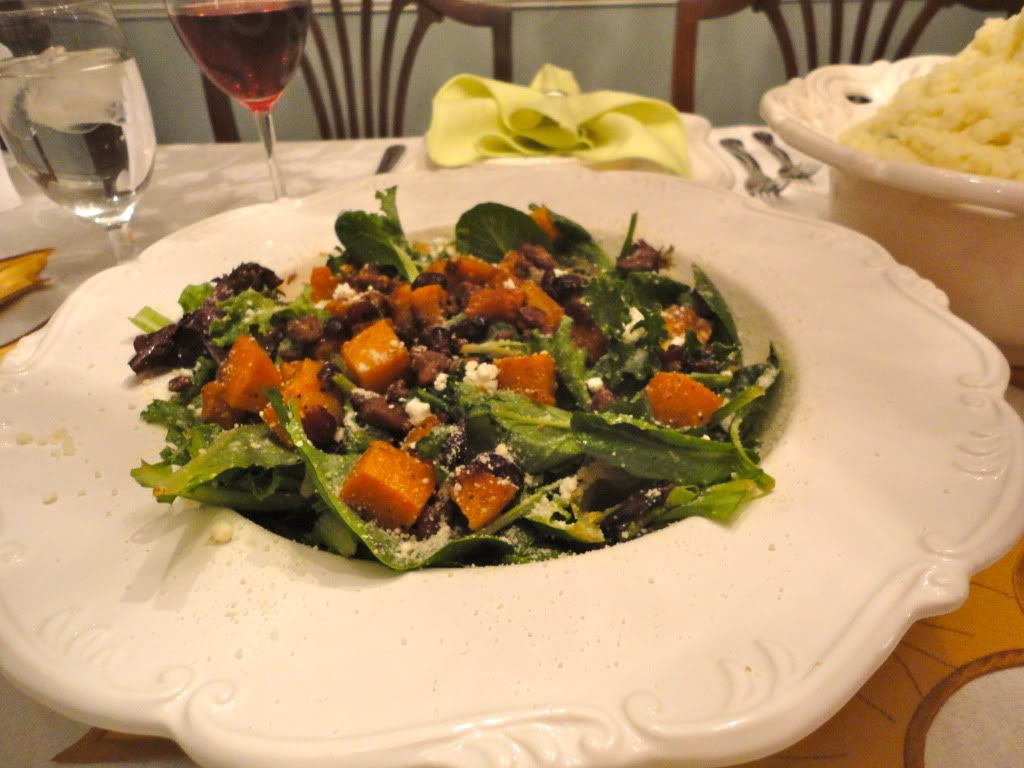
This salad is the perfect first course to a special occasion or holiday dinner. It's the kind that you talk about for many moons after. The men in my family were still gushing about it several days after Thanksgiving—yes Thanksgiving, when there are a million of other delicious dishes competing for attention. Yep, it was a dang good salad my friends.


Seriously, how gorgeous is this salad? The roasted butternut squash is the star here. But combined with candied nuts, a little bit of cheese, cranberries and a warm apple cider vinaigrette, the result is positively delicious.


Roasted Butternut Squash Salad with Warm Apple Cider Vinaigrette
Adapted from Brown Eyed Baker & The Barefoot Contessa
Yield: 4-6 servings

Ingredients
  • 1 (1 to 1½-lb) butternut squash, peeled and diced
  • 2 tablespoons + ½ cup olive oil, divided
  • 1.5 tablespoon maple syrup
  • 2 teaspoons kosher salt, divided
  • 1 teaspoon ground black pepper, divided
  • ¼ cup dried cranberries
  • ¾ cup apple cider (can substitute apple juice)
  • 2 tablespoons apple cider vinegar
  • 2 tablespoons minced shallots
  • 2 teaspoons Dijon mustard
  • 1 tablespoon honey
  • Arugula or mixed greens
  • ¾ cup candied walnuts (or pecans)
  • ¼ cup goat cheese crumbles (optional)
  • ¼  cup grated Parmesan cheese (optional)
Preheat oven to 400 degrees. Place the butternut squash on a sheet pan. Drizzle with 2 tablespoons olive oil, the maple syrup, 1 teaspoon kosher salt and ½ teaspoon black pepper. Toss to evenly coat the butternut squash. Roast for 15 minutes, turning once. Add the cranberries and roast 5 more minutes.

While the squash is roasting, prepare the dressing. Combine the apple cider, apple cide vinegar and shallots in a small saucepan and bring to a boil over medium-high heat. Cook for 6 to 8 minutes, until the cider is reduced to about ¼ cup. Remove from heat, whisk in the mustard, ½ cup olive oil, 1 tablespoon of honey, 1 teaspoon kosher salt and ½ teaspoon ground black pepper. Prepare to be delighted!

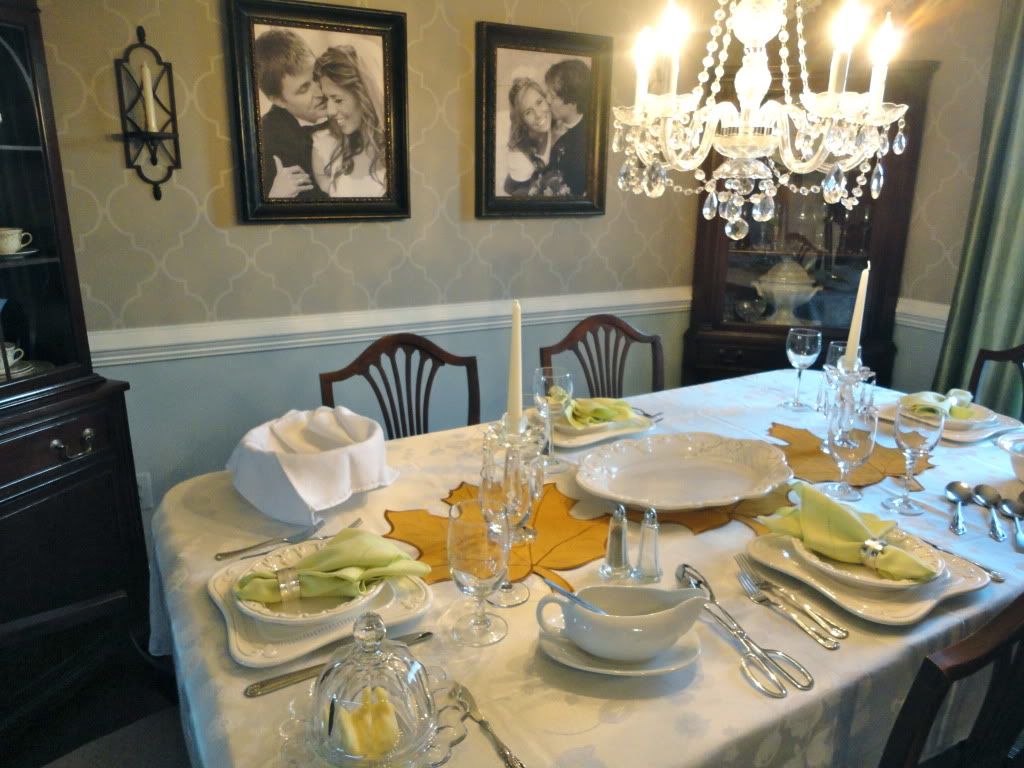
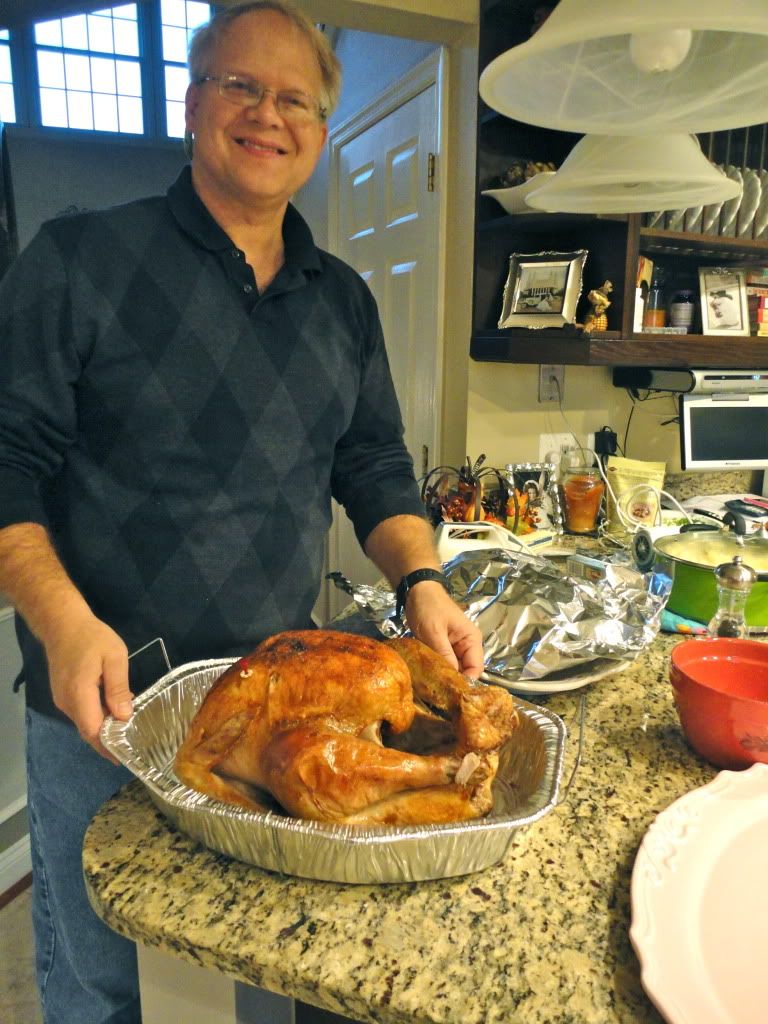
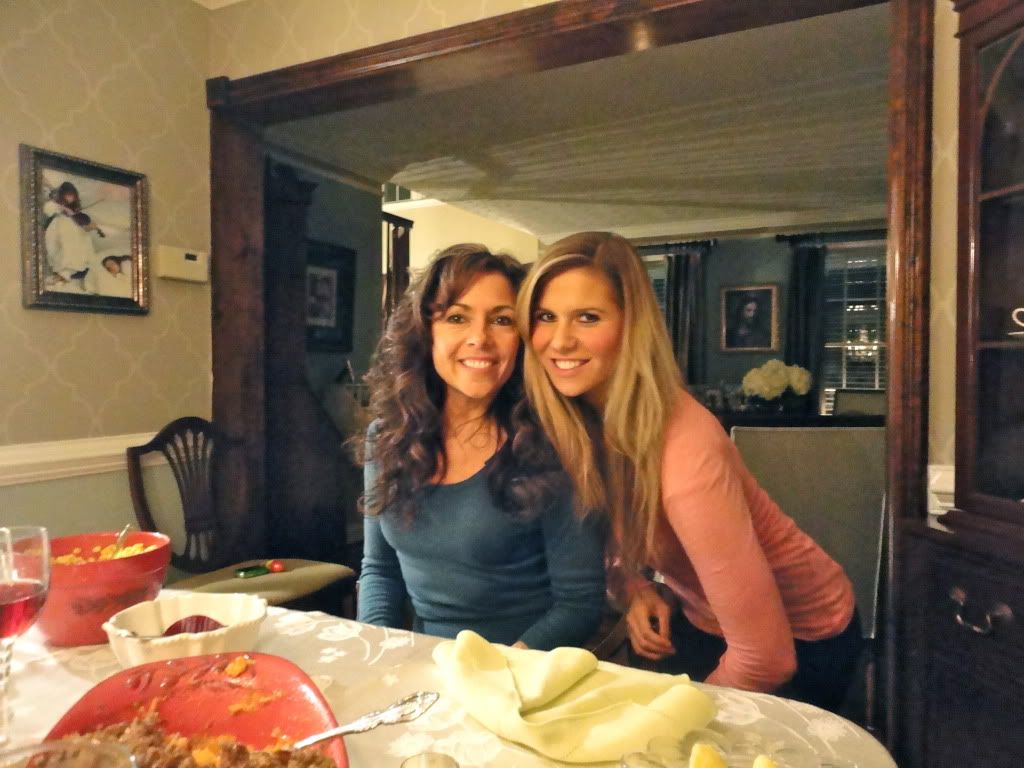
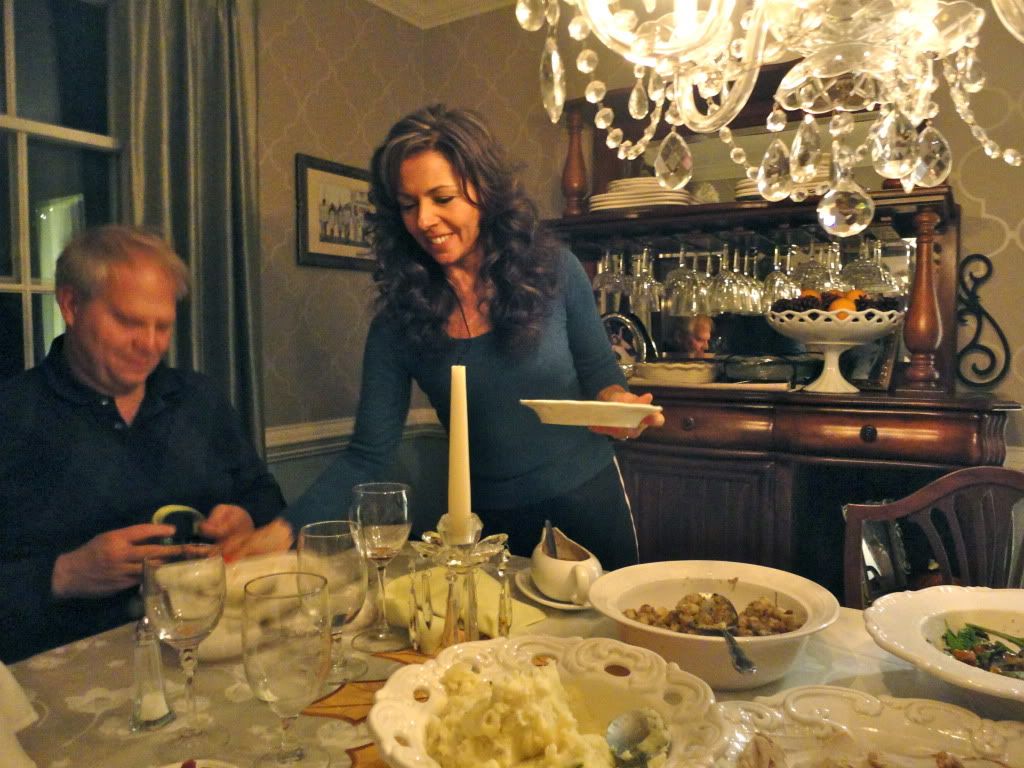
Hope everyone had a fantastic Thanksgiving! Mine was a dream as always thanks to my amazing mom who spent days in kitchen for days making things like Caramel Apple Cheesecake Pie! But that's for another day...

Thanksgiving is the best. It's always been up there with my favorite holidays because it's all about friends, family, fabulous food, and expressing gratitude for all of the amazing blessings that we have. This year I'm especially grateful to my Heavenly Father to be living in Charlottesville, which has to be one of the cutest towns in the world,  living close to my parents, having a great full time job in my field, and having lots of time to spend with my husband while he trudges through medical school.

I'm also grateful for having extra time to devote to this blog—for the chance to share lots of my favorite recipes as well as a glimpse into my life with all of you! Thank you for taking a bit of time out of your day to check out what I'm all about. Looking back on my first post a little over a year ago, I am so excited to see how far i've come as a baker, blogger and food enthusiast. Thank you for your love and support! It means the world!


Had to throw a little love for the Ravens in there! These tacky purple flamingos are all over Baltimore. We spent the better part of the morning having a little family Turkey Bowl. So fun!


Monday, November 19, 2012

Happy Birthday Blissful Baking! (Chocolate Peanut Butter Passion Cake)


Happy Birthday to Blissful Baking! It has been exactly one year since I embarked on this fabulous journey. Thank you thank you for venturing into my little corner of the world. It has been thrilling to share with you the many culinary adventures that go on in my teeny kitchen each day. 
My heart leaps every time I see a hike in page views, read a comment, or hear from one of you. Thank you for your love and support! And a special thanks to my husband who has done an ungodly amount of dishes in the past year. 
I'm full of gratitude for this opportunity to share and expand my talents in such a fun and fulfilling way. If I could, I would send you all a fat slab or this  devastatingly delicious peanut butter chocolate cake. Instead, I challenge you to make it! Then you won't have to settle for just a slice. ;)


Chocolate Peanut Butter Passion Cake. If you aren't drooling, you don't like peanut butter. And if you don't like peanut butter, I'm at a loss for words. In short, I'm not sure that we can be friends. 
This cake needs not a lengthy introduction. It starts with a luscious homemade chocolate cake. My favorite recipe, I might add! It's filled with a deep, dark chocolate ganache and slathered with a positively addicting peanut butter frosting. It requires serious willpower not to wolf this stuff down by the spatula-full. Willpower that quite frankly, I am unable to muster. And it's topped with more ganache the indisputably best candy known to mankind, Reese's peanut butter cups. 


Chocolate Peanut Butter Passion Cake

My Favorite Chocolate Cake:
Adapted from: I Am Baker
  • 1 3/4 cups all-purpose flour
  • 2 cups sugar
  • 3/4 cups good cocoa powder (plus more to dust pans)
  • 2 teaspoons baking soda
  • 1 teaspoon baking powder
  • 1 teaspoon kosher salt
  • 1 cup buttermilk, shaken
  • 1/2 cup vegetable oil
  • 2 large or extra large eggs, at room temperature
  • 1 teaspoon pure vanilla extract
  • 1 cup boiling hot water (or freshly-brewed coffee if you prefer)
Start by baking the chocolate cake. I like to use 8 inch pans because it makes for a higher cake. I like my cakes high and mighty. But 9 in works beautifully as well.  Preheat the oven to 350 degrees. Prepare you cake pans by greasing them and then dusting well with cocoa powder. For extra security, I always grease, dust and then cut out wax paper circles for the bottom of each pan, then grease and dust them as well. Sounds like a lot of work but it only takes a couple of minutes! And it provides me great piece of mind that my cakes will pop out like champs.

Sift the flour, sugar, cocoa, baking soda, baking powder, and salt into the bowl of a stand mixer fitted with a paddle attachment and stir to combine. 

In another bowl, combine the buttermilk, oil, eggs, and vanilla. With the mixer on low speed, slowly add the wet ingredients to the dry. With mixer still on low, add the hot water and stir just to combine. Pour the batter into the prepared pans and bake for 35 to 40 minutes, until a toothpick comes out clean. Cool in the pans for 30 minutes, then turn them out onto a cooling rack and cool completely.

Filling (ganache): 
  • 8oz semi-sweet chocolate, roughly chopped
  • 8oz heavy cream
  • 1/2 cup creamy peanut butter
  • 1/2 cup Reese's peanut butter cups, roughly chopped

Place chocolate in a medium bow. Heat the cream until it just begins to boil. Pour it over the chocolate and whisk until the chocolate melts. Then whisk in the peanut butter until it's incorporated and smooth. Set aside 1/4 of the ganache for the first layer of frosting. Cool the other 3/4 completely, then gently stir in the peanut butter cups.
Frosting:
  • 1/2 cup creamy peanut butter
  • 1/2 cup butter, at room temperature
  • 2 tsp vanilla extract
  • 2 cups powdered sugar

Cream together the butter and peanut butter with a pastry blender. Add the vanilla, then the sugar. Beat with an electric mixer until light and fluffy. 
Assembly:
Place one 8 or 9-inch round on a cake stand or plate. Cover the top in the peanut butter fudge filling. Place the second 9-inch round on top. Using the reserved filling, spread a thin layer on the outside of the cake. Refrigerate until the fudge is set and firm to the touch. Slather the whole thing in the peanut butter frosting. Decorate with peanut butter cups.


Saturday, November 10, 2012

Candied Sweet Potatoes


Please don't be offended by my obsession with sweet potatoes. I know this is the starch's second debut in a row, but I only do it because Thanksgiving is rapidly approaching and I want you to have in your possession the most fabulous sweet potato side known to man!

Sweet potatoes are gifts from heaven. But when candied with brown sugar and sprinkled with nuts and cayenne pepper? I can barely stand how delicious these are. I am salivating just thinking on it. And check out that gorgeous orange hue! It would complement your Thanksgiving spread so beautifully! Will you pretty please be sure to share these delightful gems with your guests this lovely holiday? You'll be thankful that you did!


Candied Sweet Potatoes
Inspired by Martha Stewart
Serves 6-8

Ingredients 
  • 5 lbs sweet potatoes 
  • 2-3 tablespoons olive oil
  • salt (I like sea salt)
  • 4 tablespoons salted butter, cut into small pieces
  • 4 tablespoons light brown sugar
  • 1/3 c. pecan pieces
  • 1/8 tsp. cayenne pepper

Preheat oven to 400 degrees. Peel potatoes, halve lengthwise and cut into little half moon shapes, about ½ inch thick. Toss with 2-3 tablespoons of olive oil until coated. Season with salt.

Roast for 25-30 minutes, turning once or twice. Sprinkle as evenly as you can with bits of butter, brown sugar, pecan pieces and cayenne pepper. Bake until sugar is caramelized and hardening, about 10 minutes. Toss gently and serve immediately.