Wednesday, February 27, 2013

Crash Hot Potatoes

These little beauties have been trending online for some time now and I figured it was time for their debut in my little kitchen. They're a simple, yet creative little side dish that goes perfectly with almost any slab of meat that you can think of. 


I appreciate that they're small and flavorful, in contrast to those huge, under seasoned russet potatoes that you often get in restaurants. I always end up eating just half because I get bored with the sameness of it all. But these have an addictive crispiness and tasty flavor that keeps your coming back for more. 


Crash Hot Potatoes
Serves 4-6

Ingredients:

  • 12 whole small red/new potatoes
  • 3 tablespoons olive oil
  • kosher/seasoned salt, to taste
  • fresh ground pepper, to taste
  • Rosemary, (or other herbs) to taste

Bring a pot of salted water to a boil. Add the potatoes and cook until fork tender.

Drizzle a rimmed pan with olive oil. Place tender potatoes on the pan leaving plenty of room between each potato. If you notice from my pictures, mine are pretty crammed. I pushed it a bit because I desperately wanted to avoid dirtying another dish. 

With a potato masher, gently press down on each potato until it slightly mashes, then rotate the potato masher 90 degrees and mash again. Pretty firmly but resist the urge to smash them to smithereens. Brush the tops of each crushed potato generously with more olive oil.

Sprinkle potatoes generously with kosher salt, fresh ground black pepper and fresh chopped rosemary. (or whatever fresh herb you have on hand) Throw them in your oven at 450 degrees for 20-25 minutes until they develop a pretty golden brown hue. Serve with steak, chicken or whatever meat sounds good to you! I suggest pairing with Chicken Cordon Bleu with Parmesan Cream Sauce or Momma's Chicken Pot Pie for a classic meal!


I know it's practically March, but I still haven't gotten around to posting a snapshot of Christmas, and it would be a crying shame if all of our festive fun went undocumented. Holiday highlights included getting to see Sissay, taking our traditional Ellicott City day trip on mom's birthday, dinner at the Rusty Scupper, seeing the temple lights, and hanging out with the extended family in Pennsylvania. 

Gradon was pretty consumed with boards studying, so we decided not to take a Utah trip, and we sure missed everyone on his side of the fam. We were especially bummed not to get to see our newest nephew Gavin! He's the cutest ever and we can't wait to meet him. 


Thursday, February 7, 2013

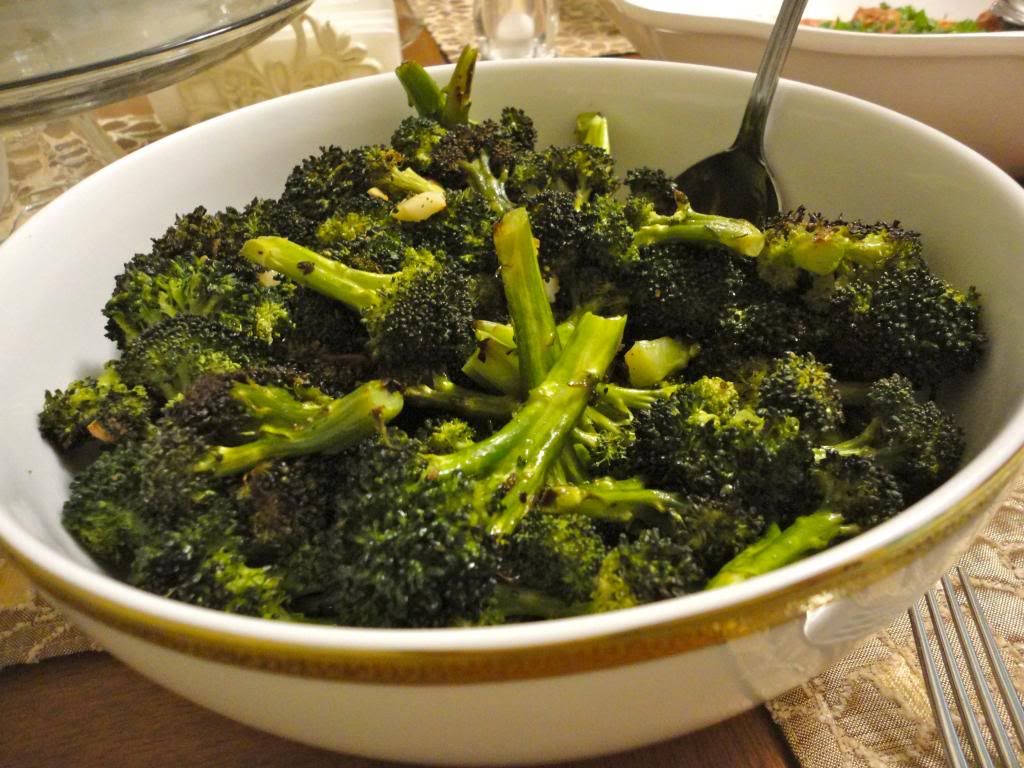
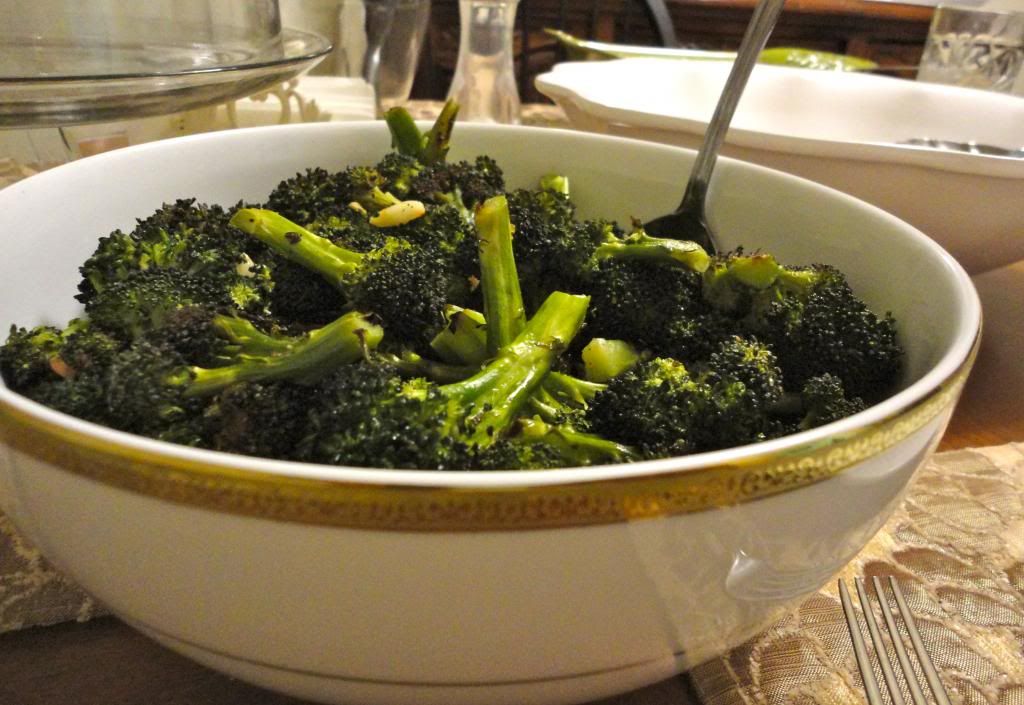
Roasted Broccoli with Garlic

“I didn't realize that when I married you, I also married garlic,” said my husband a while back. It's true that I love the little cloves with all my heart. I'm a true italian gahh-lic eater and proud of it! Luckily, he enjoys them as well.

I can say with absolute certainty that the best way to prepare broccoli is by roasting it. I used to be intimidated by raw vegetables—I almost always bought those nifty veggie packages that steam up in the microwave. But roasting is simple stuff and brings out a deep, nutty flavor that will leave you seriously surprised at how much you're enjoying eating your vegetables.


Roasted Broccoli with Garlic
Adapted from Skinnytaste

Serving Size: 1/8 of recipe
Servings: 8
Calories: 88
Fat: 4 G
Carbs: 12 G
Protein: 5 G

Ingredients:
  • 3 lbs. (2 large bunches) raw broccoli
  • 2 T. olive oil
  • 1/2 t. seasoned salt
  • Freshly ground pepper
  • 12 cloves garlic
Simply cut raw broccoli into florets using kitchen scissors or a large knife. I like to keep the stems fairly long for elegance. Scatter them evenly on to a rimmed pan. They'll be nice and cozy I there. You can use two pans if you'd like, but I usually stick with one. Because I hate dishes that much.

Preheat the oven to 400 degrees. Peel 12 cloves of garlic (the trick is to smash them with the flat part of your knife—the skin will peel right off!) Then roughly chop—no need to mince. Drizzle with two tablespoons of olive oil and toss to coat. A lot of recipes out there call for much more, but I find that less makes it a bit crispier with more of a bite, and I prefer that. Plus it's lighter!

Next, add a few pinches of salt, kosher or seasoned, (I like Lawry's) plenty of freshly ground pepper, and of course garlic! The garlic will roast beautifully alongside the broccoli. Pop it all in the oven and let it roast for 10 minutes. Then shake the pan a bit to toss the garlic around so it won't burn, and put it back in for another 10 minutes.

This side is incredibly versatile! Try it alongside Chicken Proscuitto Rollatini, Skillet Chicken Parmesan, or Tortellini with Guiltless Alfredo Sauce.   


G and I have had a rough couple of months with his big scary medical licensing exam looming. It's been really crummy to only get to see him less than an hour per day. Almost every waking second has been devoted to this terrible test. I've been a lone woman the last couple of days as he's been in Baltimore taking it. So I've had to brave the cold and take the bus to work this week, work all the day long and then come home to an empty house at night. I've been watching so much Paula Dean and Chopped, it's a little embarrassing. I'm so excited for his homecoming tomorrow night!

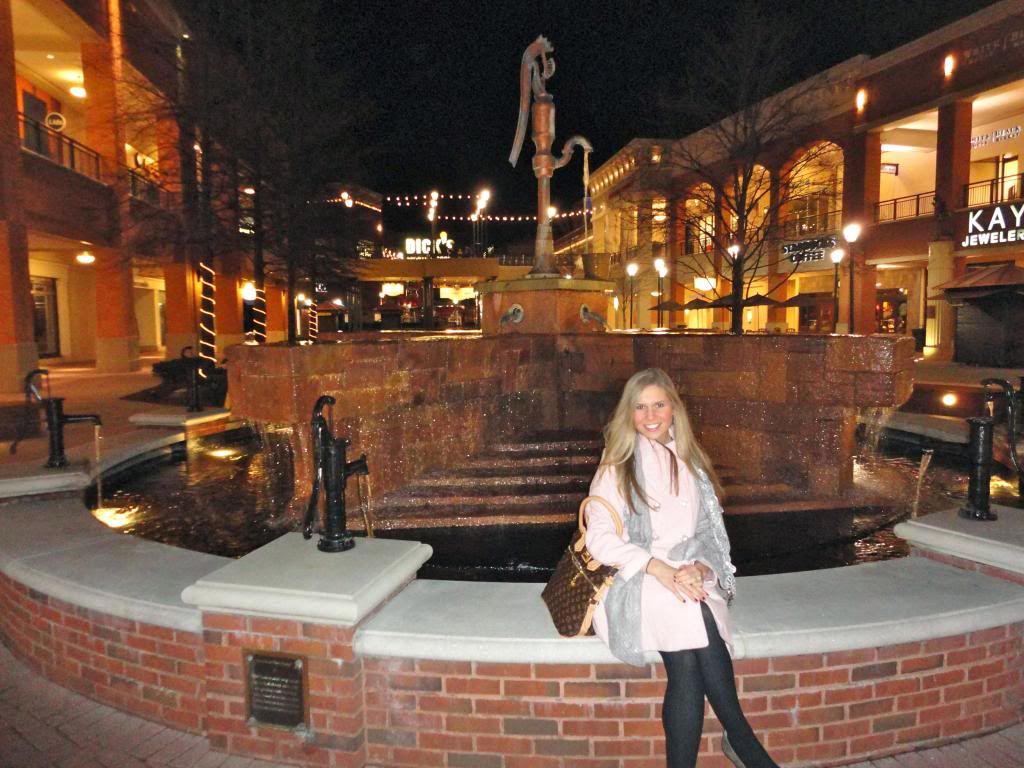
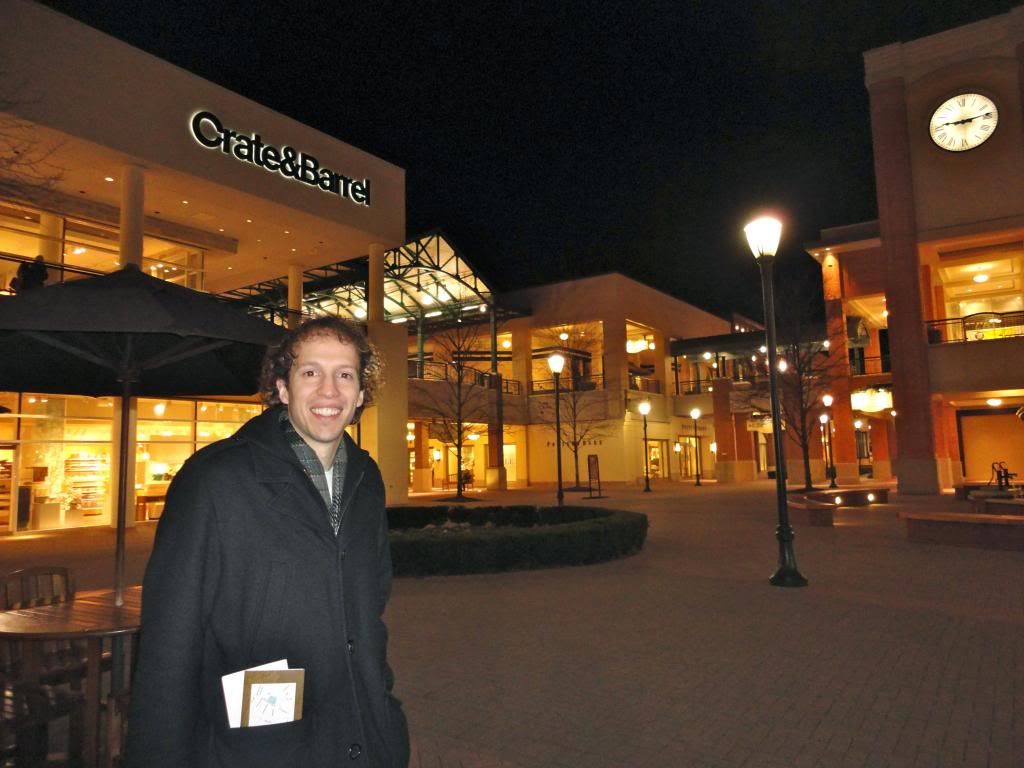
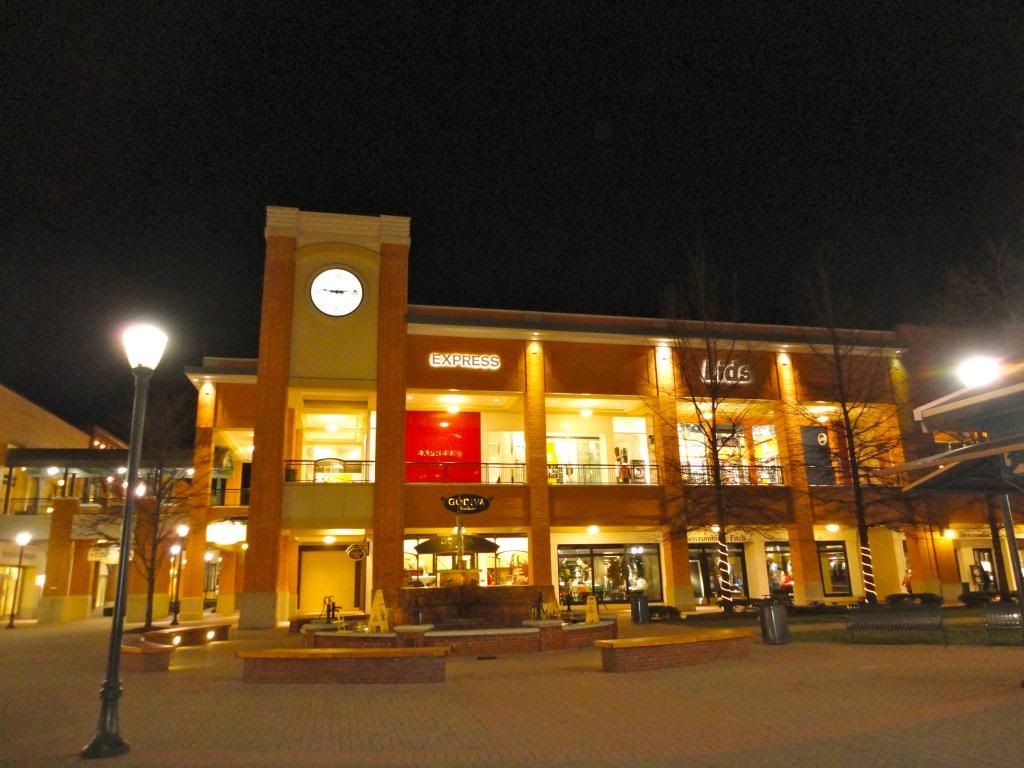
Luckily despite our misery, Gradon insists on taking me on plenty of weekend dates. We recently spent a night in Richmond at the Short Pump Town Center and it was incredible! I'm not ashamed to admit that I bought yet another adorable cake plate. A girl can never have too many! We filled up on plenty of salad, breadsticks and pasta at Olive Garden and used up the last of a Coldstone giftcard too. 


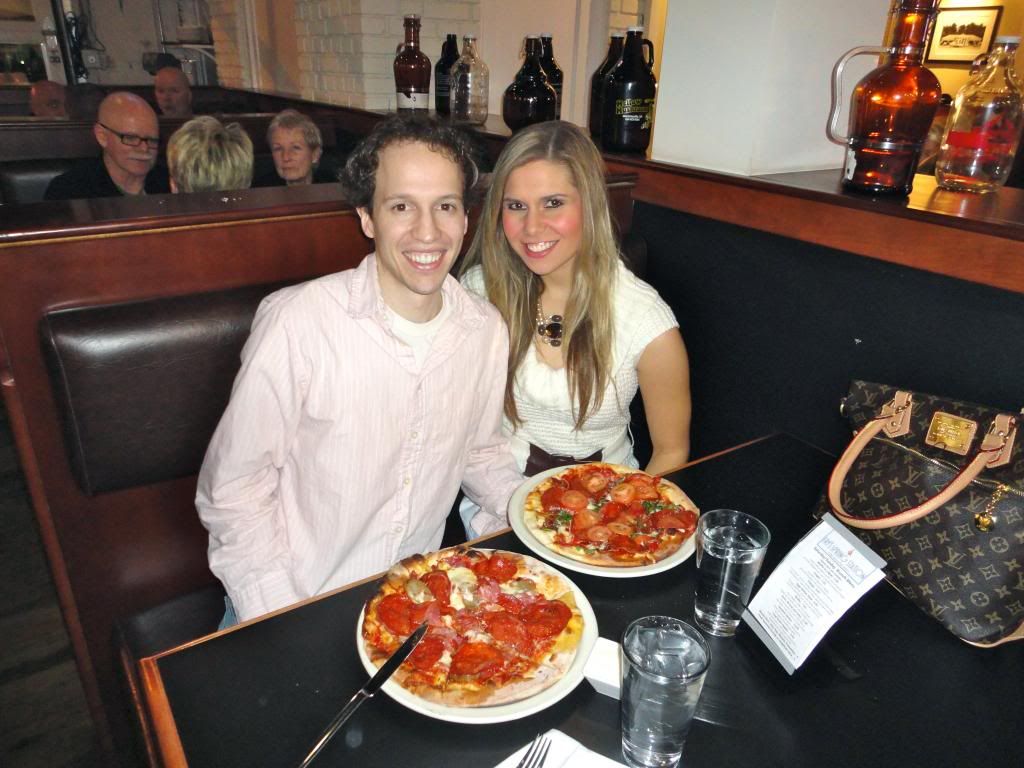
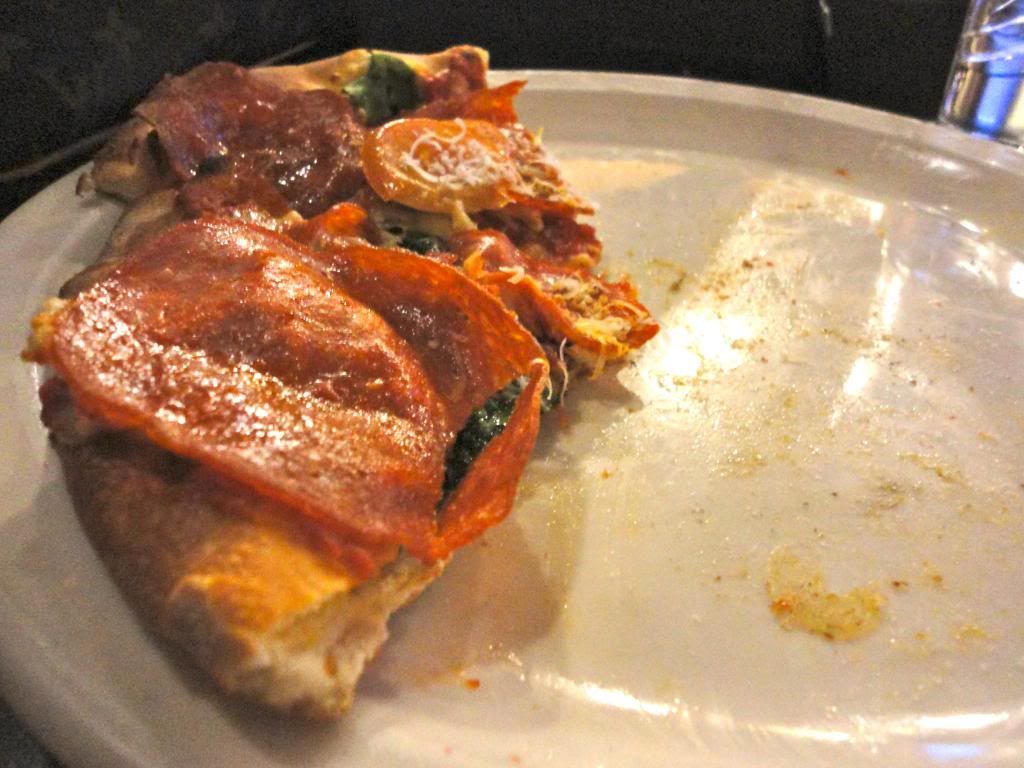
We also hung out at Fry Spring Station in Cville, an old gas station turned classy restaurant. It has the most amazing pizza. Gradon loves "the carnivore." Yes it's as meaty and amazing as it sounds. I topped mine with mozzarella, goat cheese, bacon, spinach, and roma tomatoes. Major yum. 


Sunday, January 13, 2013

Guiltless Alfredo Sauce

Being the italian girl that I am, I love my classic marinara sauce. My mom makes an out of this world crazy awesome one that I could drink through a straw. I had never even tried alfredo in a restaurant until taking a bite of a friend's dish a few years back. It was quite good, but so much different than the red sauce that I grew up with. I'd take the red stuff any day. But Lover lovesss his pasta dripping with creamy alfredo.
So one day I went searching for a recipe. I wasn't looking for a light version, but came upon this popular one from Our Best Bites and thought I'd give it a go. It's just about 100 calories per ¼ cup. They insisted it didn't taste “light” and allow me to attest that it absolutely does not. It's creamy, delicious and full of flavor! Totally better than a lot of restaurant alfredos out there, and light years better than anything you can pick up at the grocery store. Jarred alfredo = no bueno my friends.


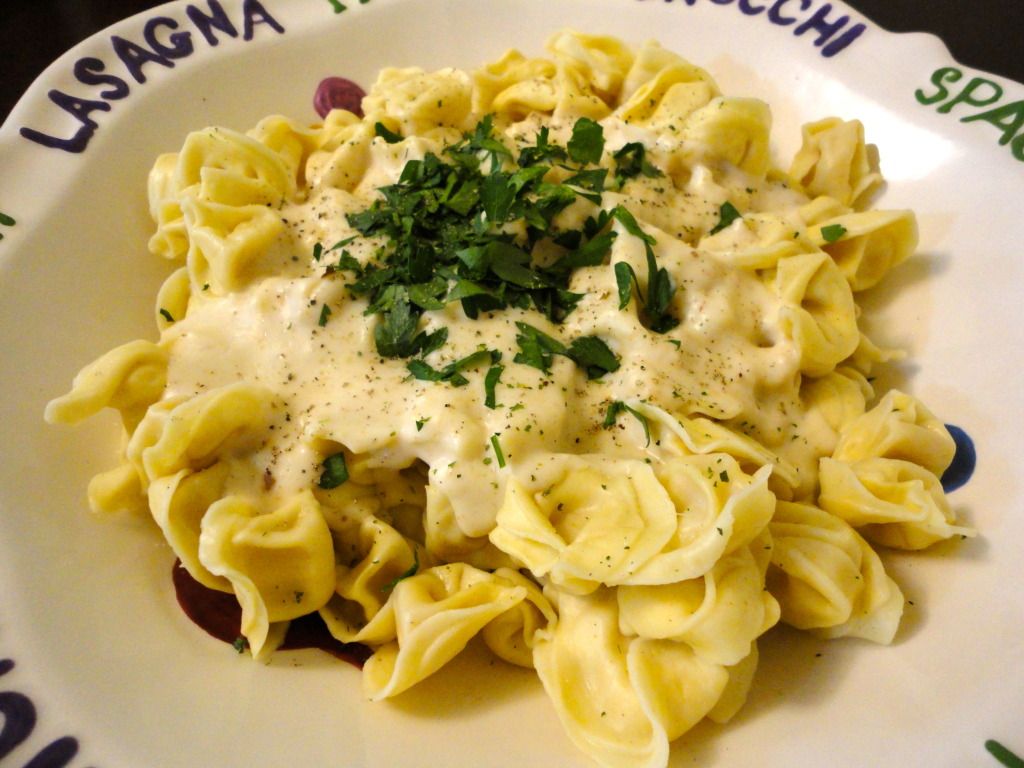
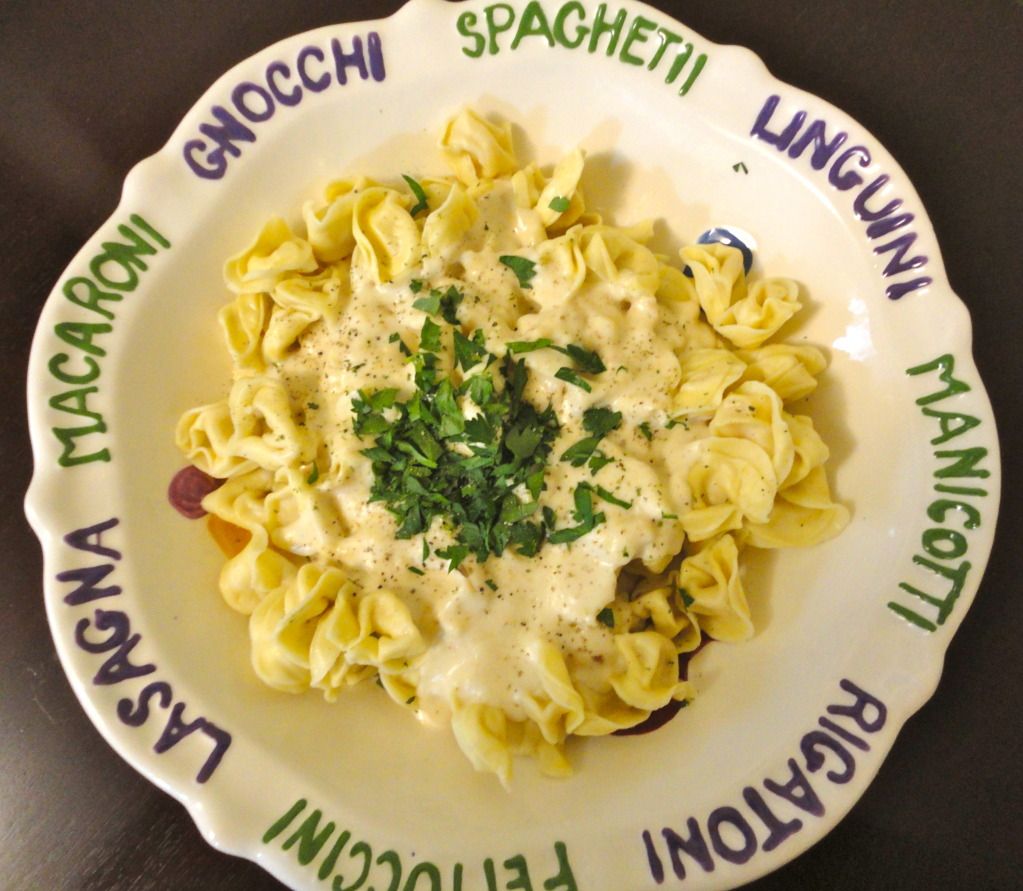
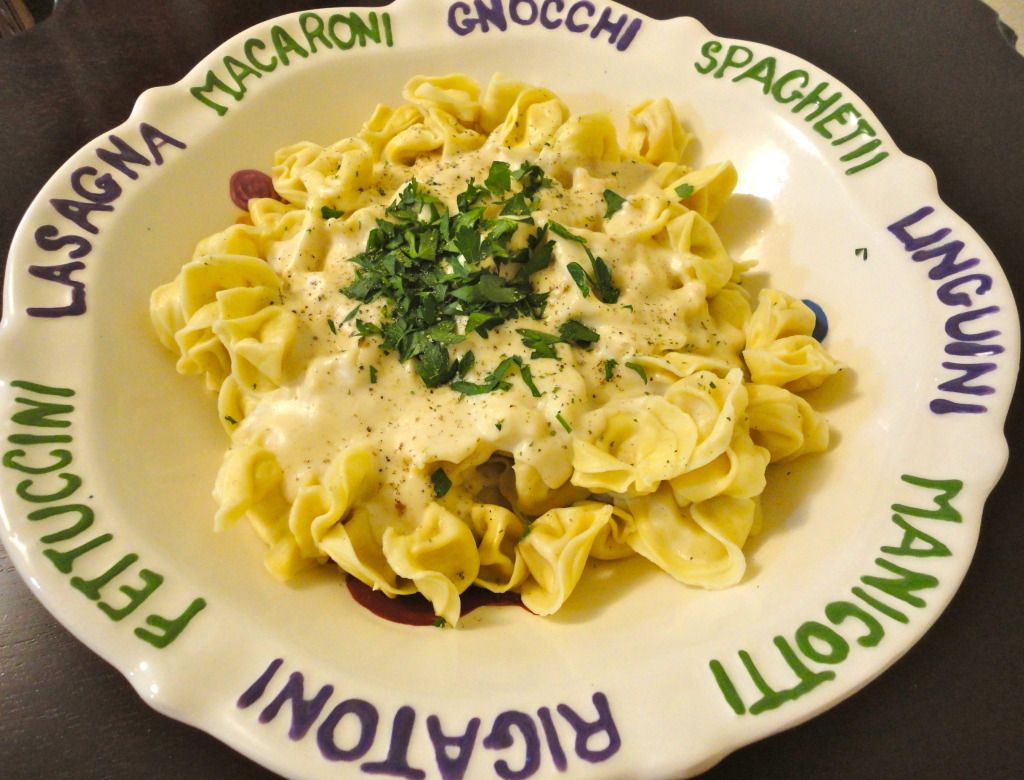
Enjoy this over pasta, as a dip for breadsticks or a sauce for pizza. I chose tortellini this time. Have I mentioned this is super quick and easy? The only con is you will have to whip out your blender or food processor. And then wash it. Which I try to avoid. But in this case, it's totally worth it.


Guiltless Alfredo Sauce
serves 6-8
adapted from Our Best Bites
  • 2 cups low fat milk (1% or 2%)
  • 1/3 cup (3 oz) neufchatel (1/3 less fat cream cheese)
  • 2-3 tablespoons flour
  • 1 teaspoon salt
  • 1 Tablespoon butter
  • 3 garlic cloves, smashed and minced
  • 1 cup grated parmesan cheese
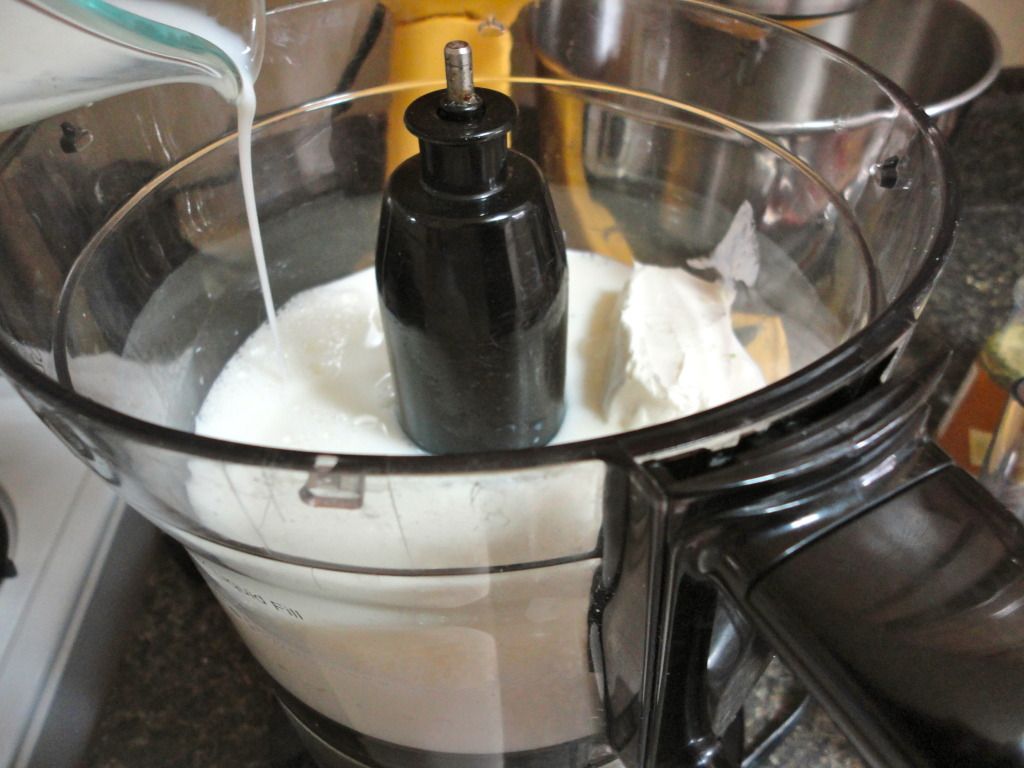
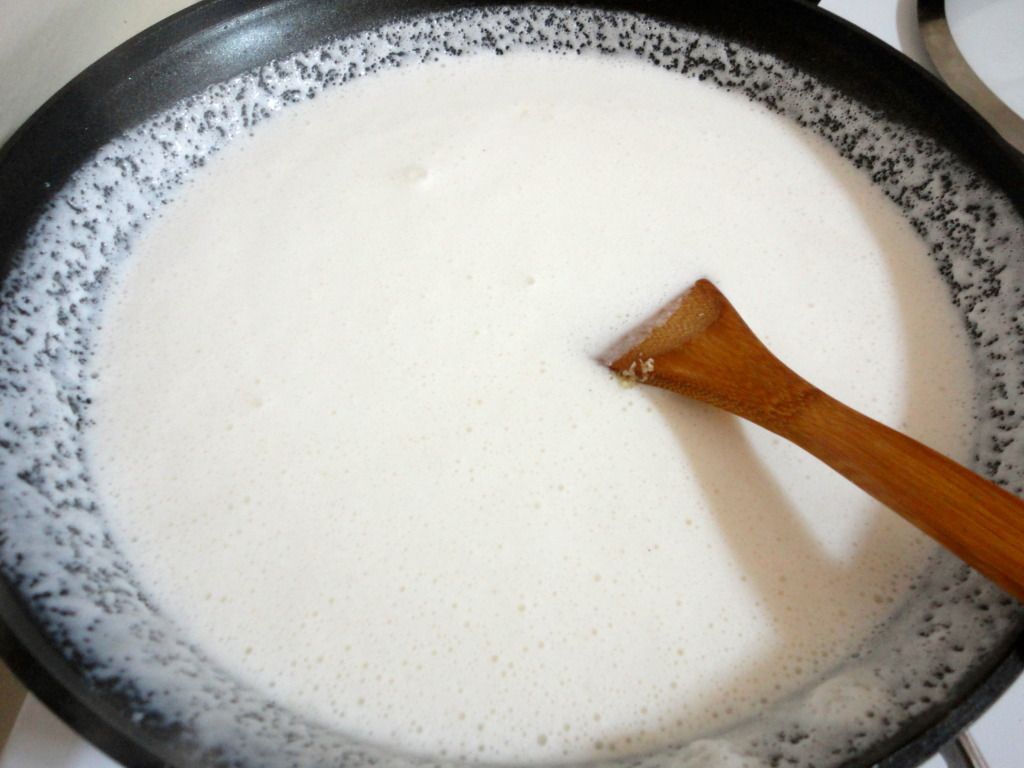
Place milk, cream cheese, flour and salt in a blender or food processor and blend until smooth, 2 to 4 minutes. Melt butter in a large pan over medium heat and add garlic. Saute about 30 second, careful not to burn it.


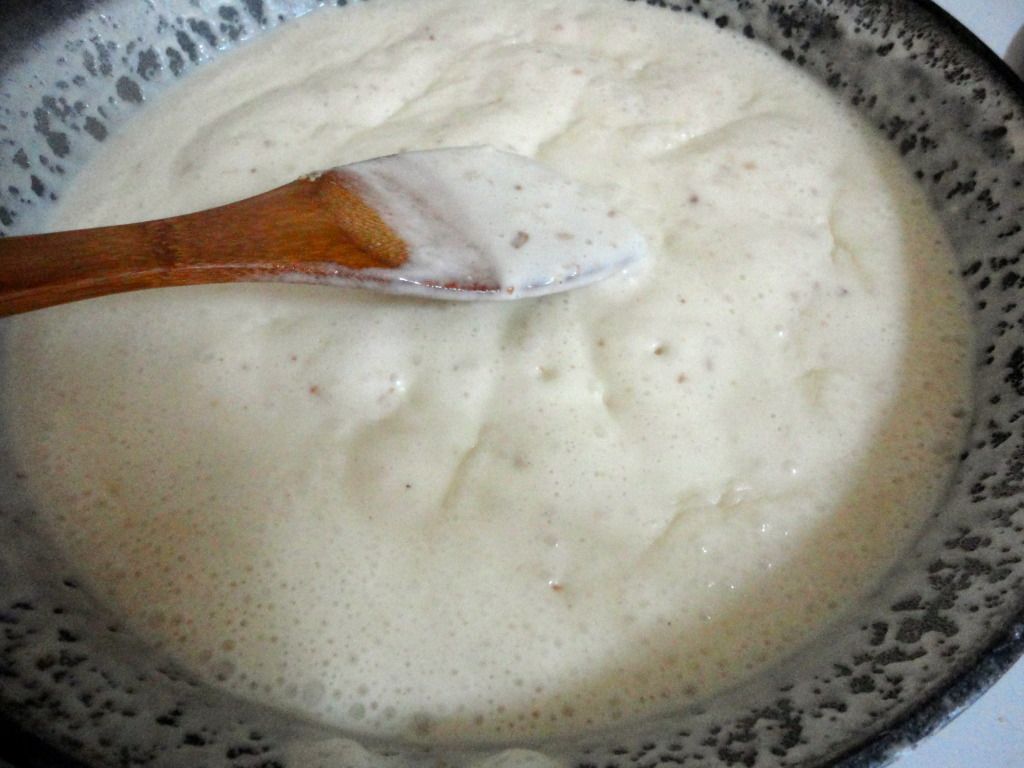
Add milk mixture to the pan and stir constantly for 4 minutes or until it comes to a simmer. Keep stirring, letting it cook a few minutes more until it thickens up quite a bit.


When it's nice and thick, remove it from the heat and add the cheese. Stir it up and cover immediately. Let stand for at least 10 minutes before serving. It will continue to thicken up while it sits. Season with additional salt and pepper if needed.

Note that this sauce will thicken to a solid in the fridge. Just reheat and add a little milk and you'll be good to go.


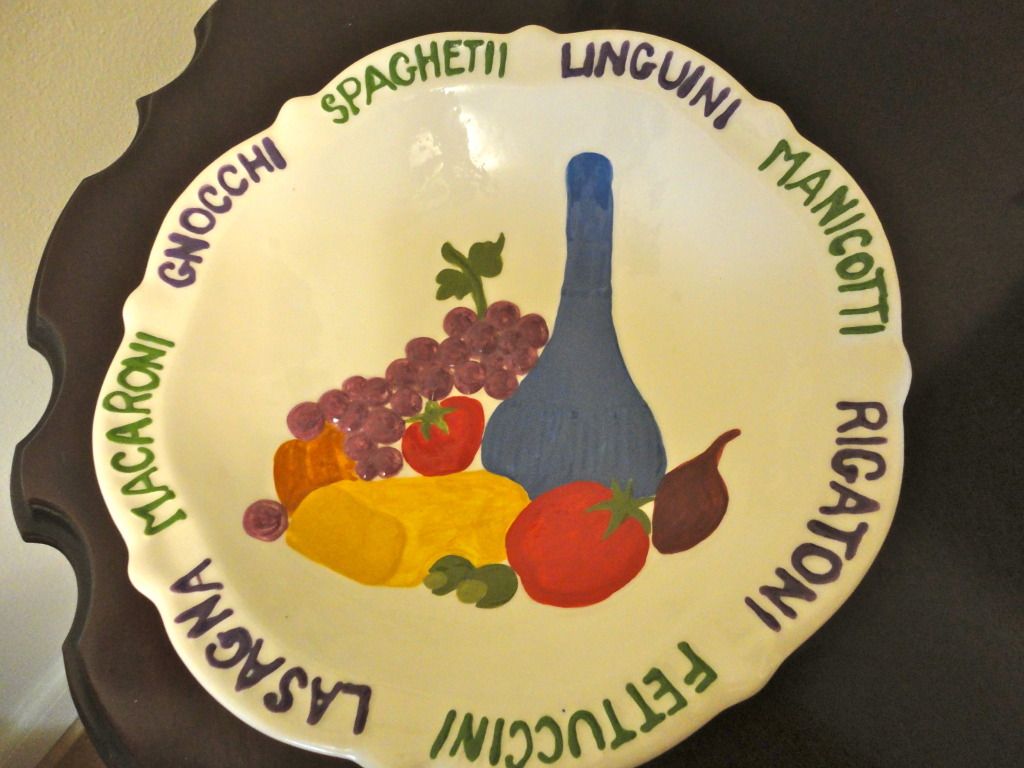
P.S. Check out my super cute pasta bowl that I made with my sister at Color-Me-Mine in Utah! Back when we were living in the same state we always did some sort of project there to celebrate our birthdays. Those were the days!


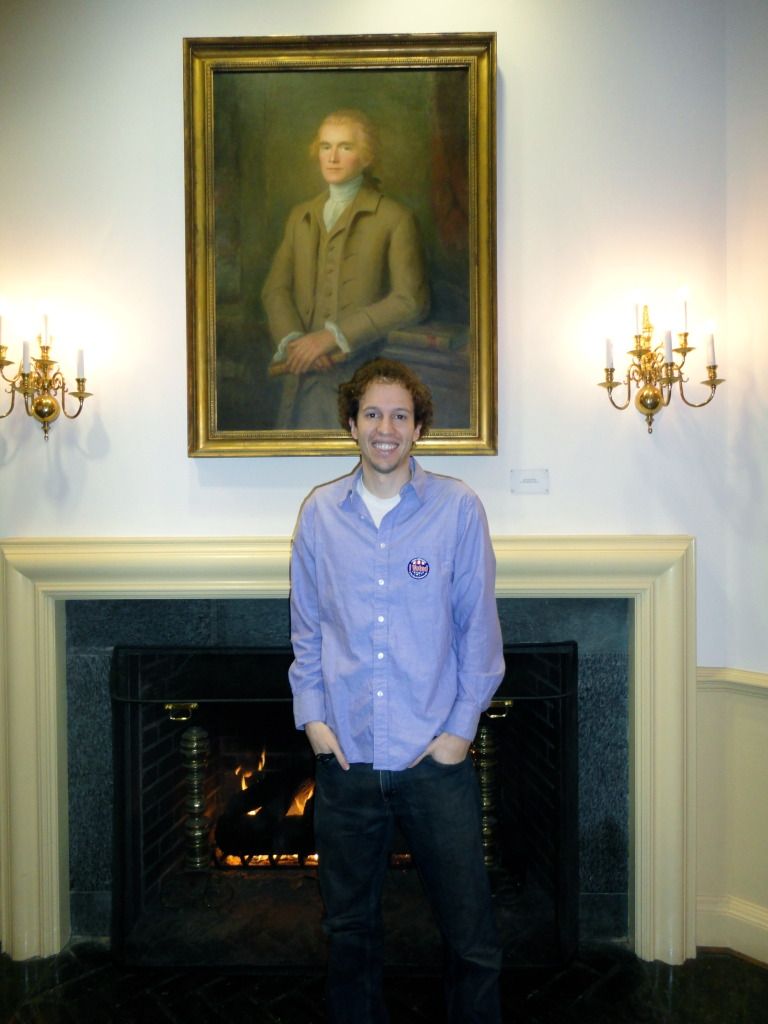
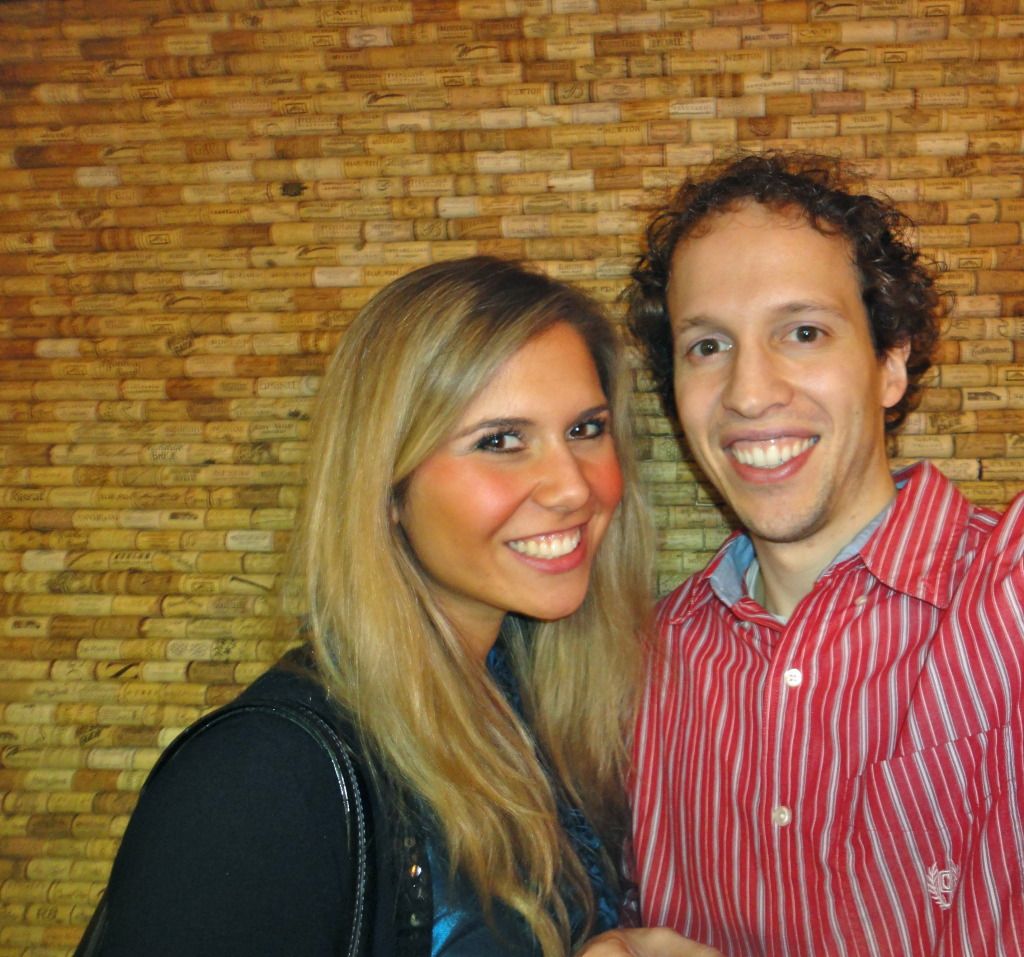
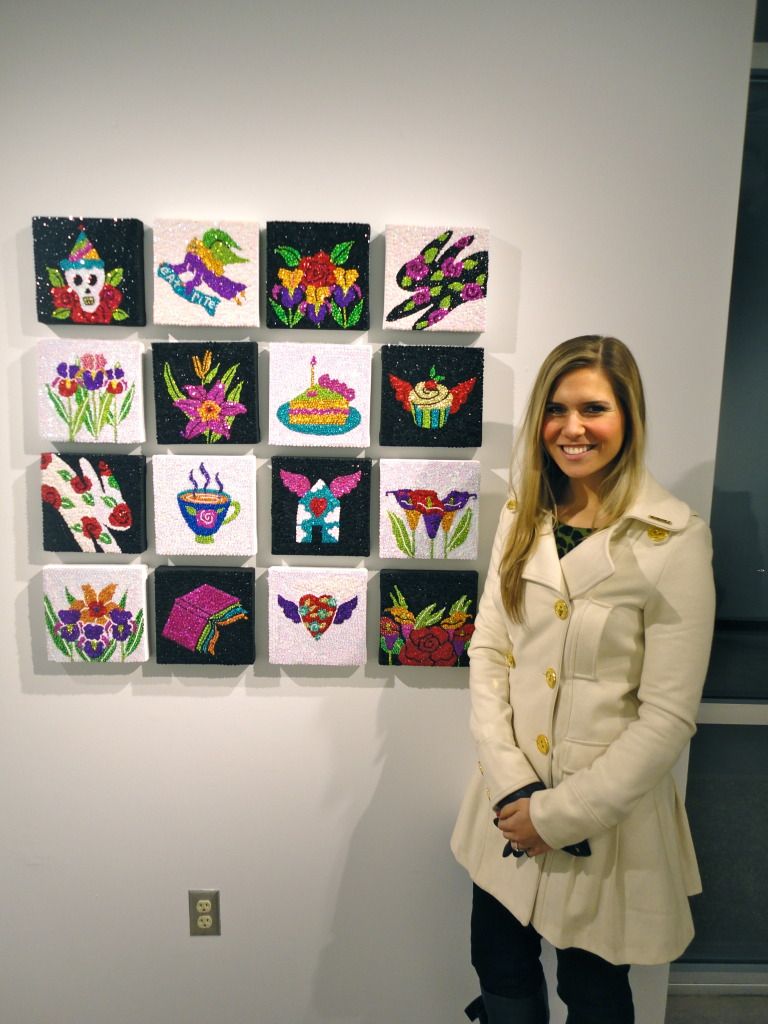
Poor G has been doped up on meds fighting the second flu he has caught in just one month! He's super stressed studying for his big med school test, the boards, so I think his little immune system has been thrown for a loop. Still we've been managing to have a little weekend fun. Here's us at our new favorite Chinese restaurant, attending our first UVA football game, eating steak at Outback, checking out a light show at Piedmont, and doing our civic duty. Happy New Year everyone! Christmas pictures to come soon!


Wednesday, December 12, 2012

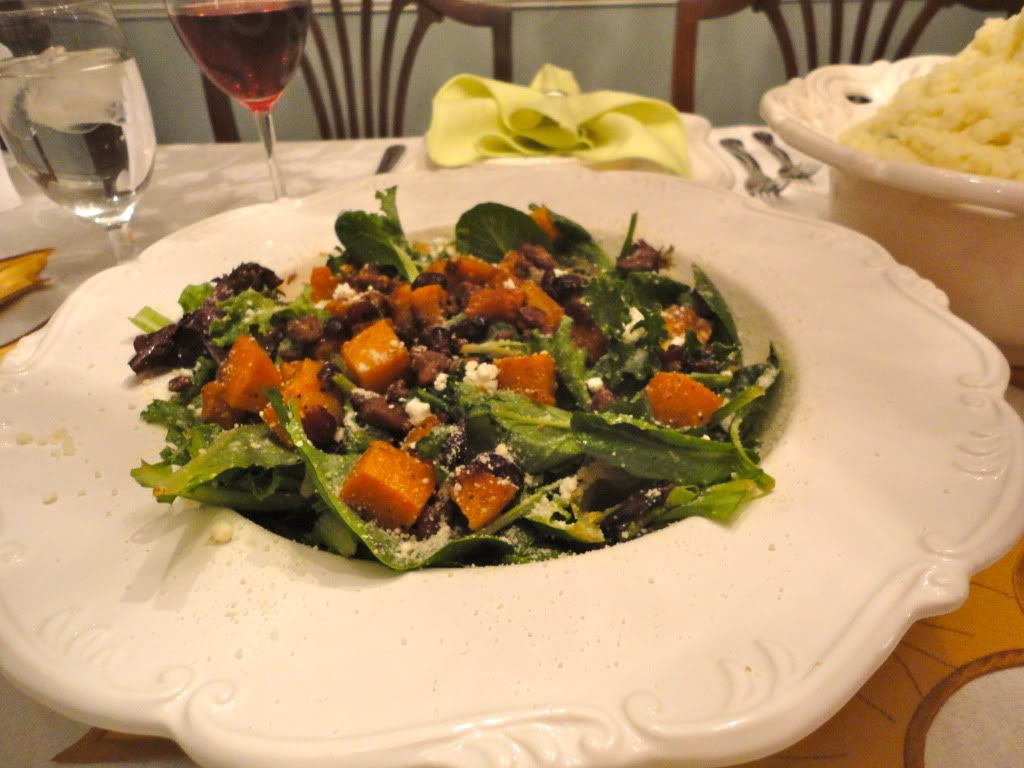
Roasted Butternut Squash Salad with Warm Apple Cider Vinaigrette

Butternut Squash is not to be underestimated. Its funny shape makes it difficult to cut and it has a mega thick skin that requires a fair amount of time to peel. But do not let that deter you from making this salad! Pay a couple of extra bucks to get it already peeled, diced and ready to go. (It will save you lots of time!) Or pull the guys away from the TV to help you prep. Trust me, it is worth the extra effort!

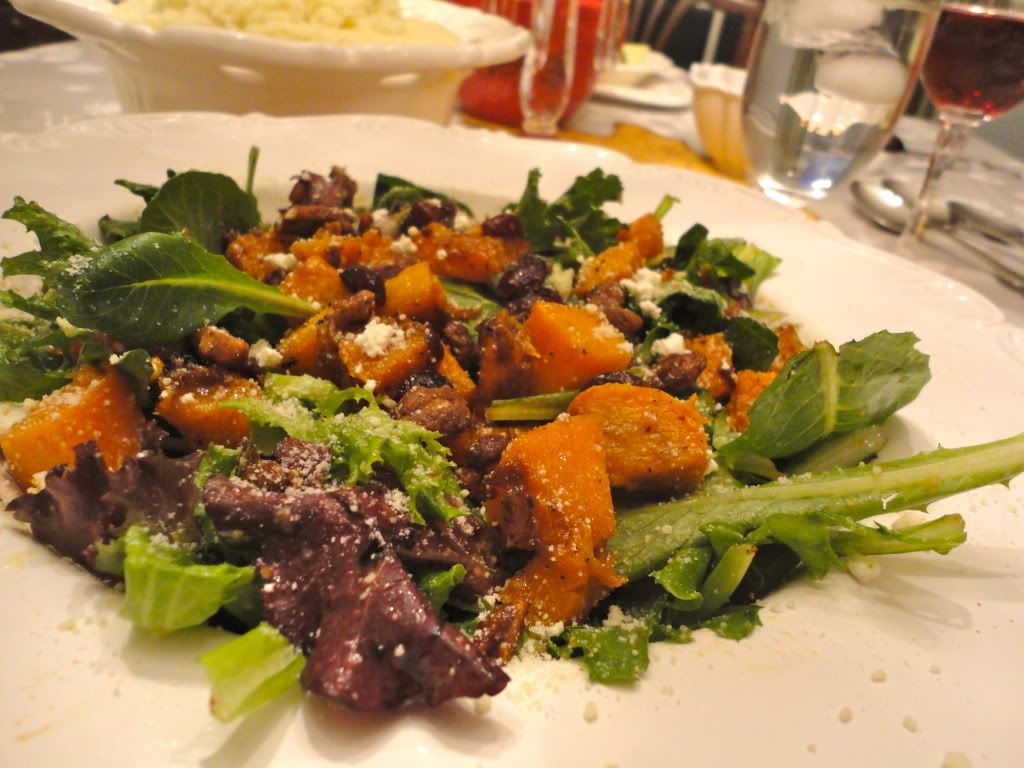
This salad is the perfect first course to a special occasion or holiday dinner. It's the kind that you talk about for many moons after. The men in my family were still gushing about it several days after Thanksgiving—yes Thanksgiving, when there are a million of other delicious dishes competing for attention. Yep, it was a dang good salad my friends.


Seriously, how gorgeous is this salad? The roasted butternut squash is the star here. But combined with candied nuts, a little bit of cheese, cranberries and a warm apple cider vinaigrette, the result is positively delicious.


Roasted Butternut Squash Salad with Warm Apple Cider Vinaigrette
Adapted from Brown Eyed Baker & The Barefoot Contessa
Yield: 4-6 servings

Ingredients
  • 1 (1 to 1½-lb) butternut squash, peeled and diced
  • 2 tablespoons + ½ cup olive oil, divided
  • 1.5 tablespoon maple syrup
  • 2 teaspoons kosher salt, divided
  • 1 teaspoon ground black pepper, divided
  • ¼ cup dried cranberries
  • ¾ cup apple cider (can substitute apple juice)
  • 2 tablespoons apple cider vinegar
  • 2 tablespoons minced shallots
  • 2 teaspoons Dijon mustard
  • 1 tablespoon honey
  • Arugula or mixed greens
  • ¾ cup candied walnuts (or pecans)
  • ¼ cup goat cheese crumbles (optional)
  • ¼  cup grated Parmesan cheese (optional)
Preheat oven to 400 degrees. Place the butternut squash on a sheet pan. Drizzle with 2 tablespoons olive oil, the maple syrup, 1 teaspoon kosher salt and ½ teaspoon black pepper. Toss to evenly coat the butternut squash. Roast for 15 minutes, turning once. Add the cranberries and roast 5 more minutes.

While the squash is roasting, prepare the dressing. Combine the apple cider, apple cide vinegar and shallots in a small saucepan and bring to a boil over medium-high heat. Cook for 6 to 8 minutes, until the cider is reduced to about ¼ cup. Remove from heat, whisk in the mustard, ½ cup olive oil, 1 tablespoon of honey, 1 teaspoon kosher salt and ½ teaspoon ground black pepper. Prepare to be delighted!

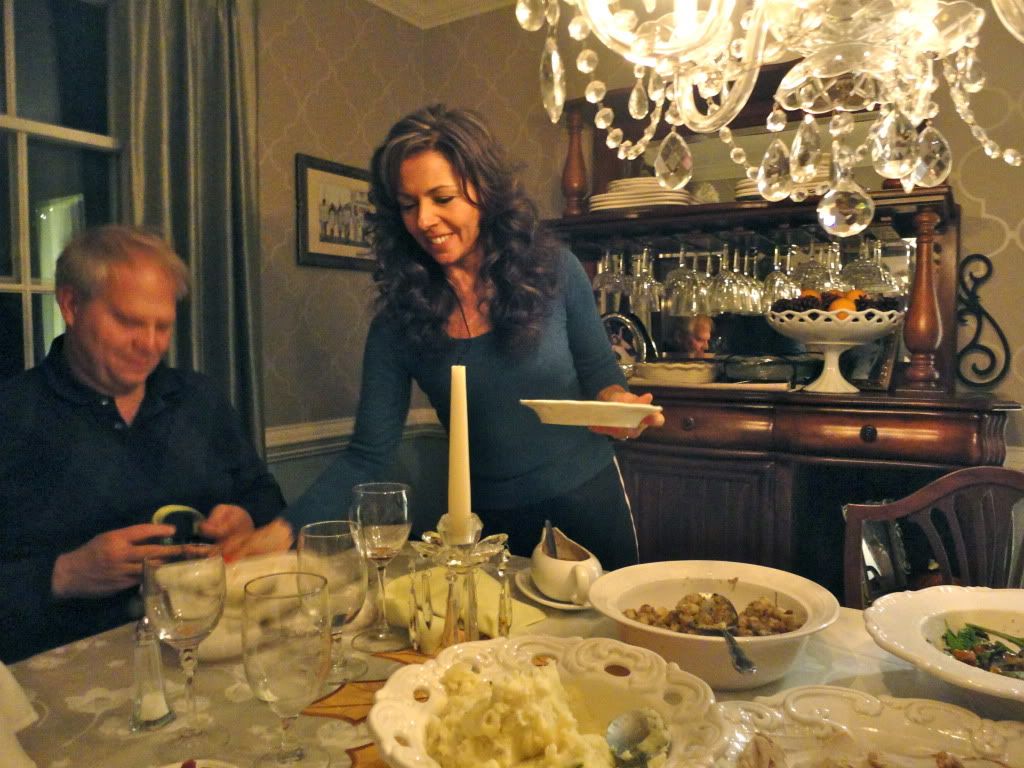
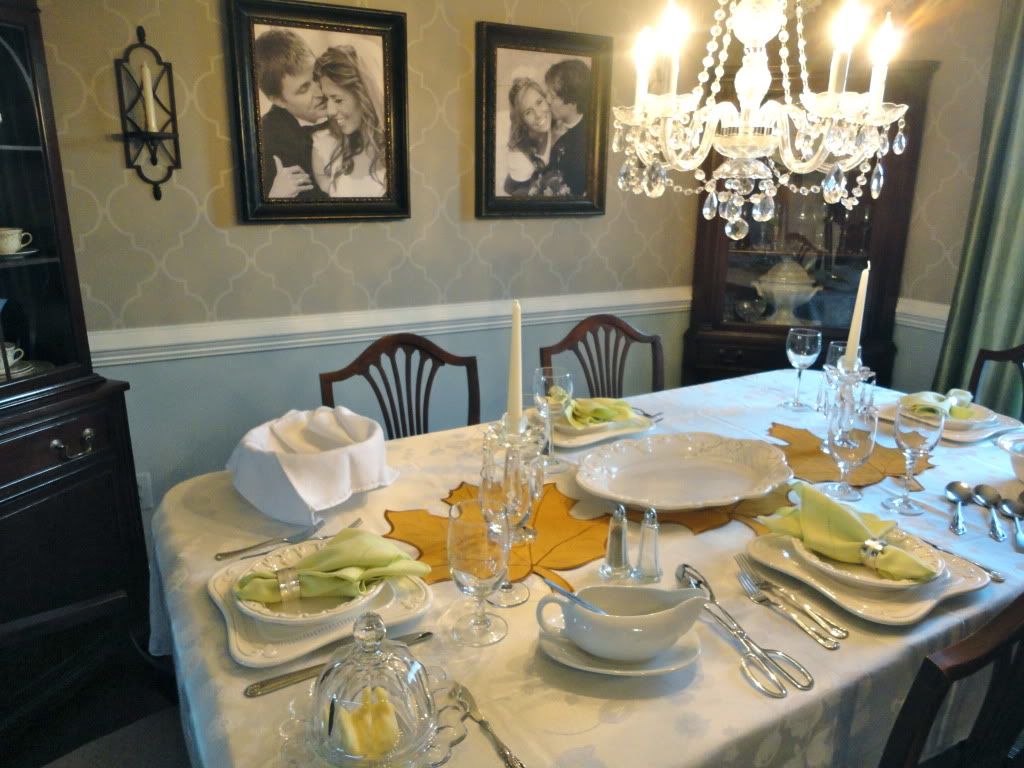
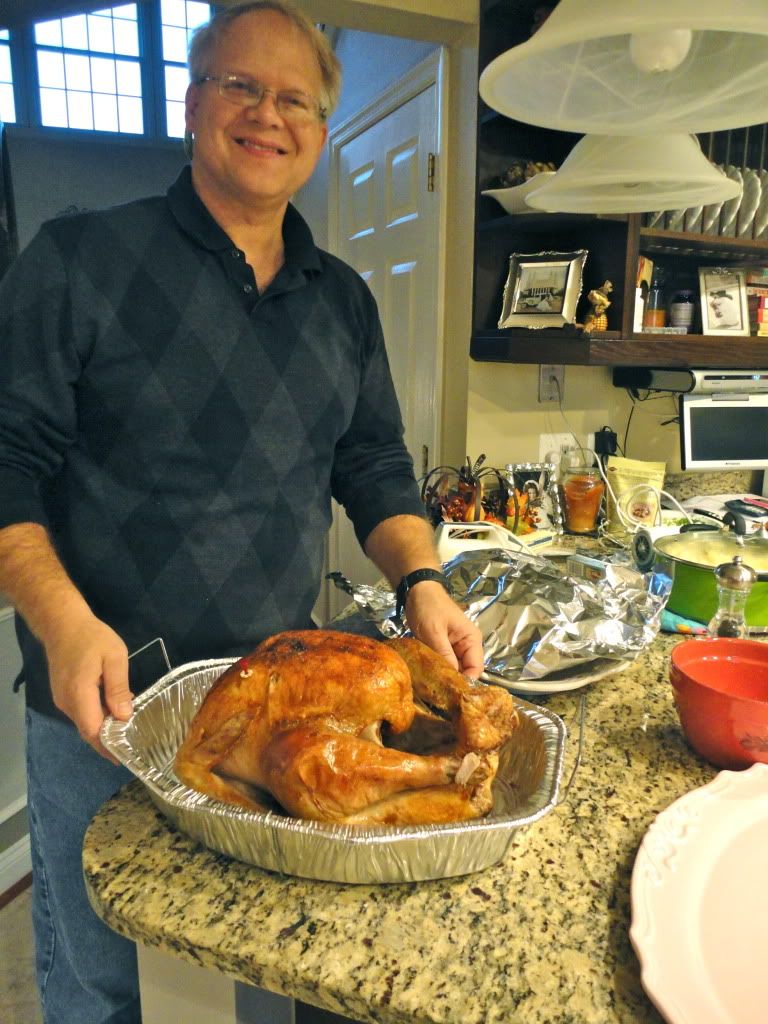
Hope everyone had a fantastic Thanksgiving! Mine was a dream as always thanks to my amazing mom who spent days in kitchen for days making things like Caramel Apple Cheesecake Pie! But that's for another day...

Thanksgiving is the best. It's always been up there with my favorite holidays because it's all about friends, family, fabulous food, and expressing gratitude for all of the amazing blessings that we have. This year I'm especially grateful to my Heavenly Father to be living in Charlottesville, which has to be one of the cutest towns in the world,  living close to my parents, having a great full time job in my field, and having lots of time to spend with my husband while he trudges through medical school.

I'm also grateful for having extra time to devote to this blog—for the chance to share lots of my favorite recipes as well as a glimpse into my life with all of you! Thank you for taking a bit of time out of your day to check out what I'm all about. Looking back on my first post a little over a year ago, I am so excited to see how far i've come as a baker, blogger and food enthusiast. Thank you for your love and support! It means the world!


Had to throw a little love for the Ravens in there! These tacky purple flamingos are all over Baltimore. We spent the better part of the morning having a little family Turkey Bowl. So fun!