Wednesday, December 12, 2012

Roasted Butternut Squash Salad with Warm Apple Cider Vinaigrette

Butternut Squash is not to be underestimated. Its funny shape makes it difficult to cut and it has a mega thick skin that requires a fair amount of time to peel. But do not let that deter you from making this salad! Pay a couple of extra bucks to get it already peeled, diced and ready to go. (It will save you lots of time!) Or pull the guys away from the TV to help you prep. Trust me, it is worth the extra effort!

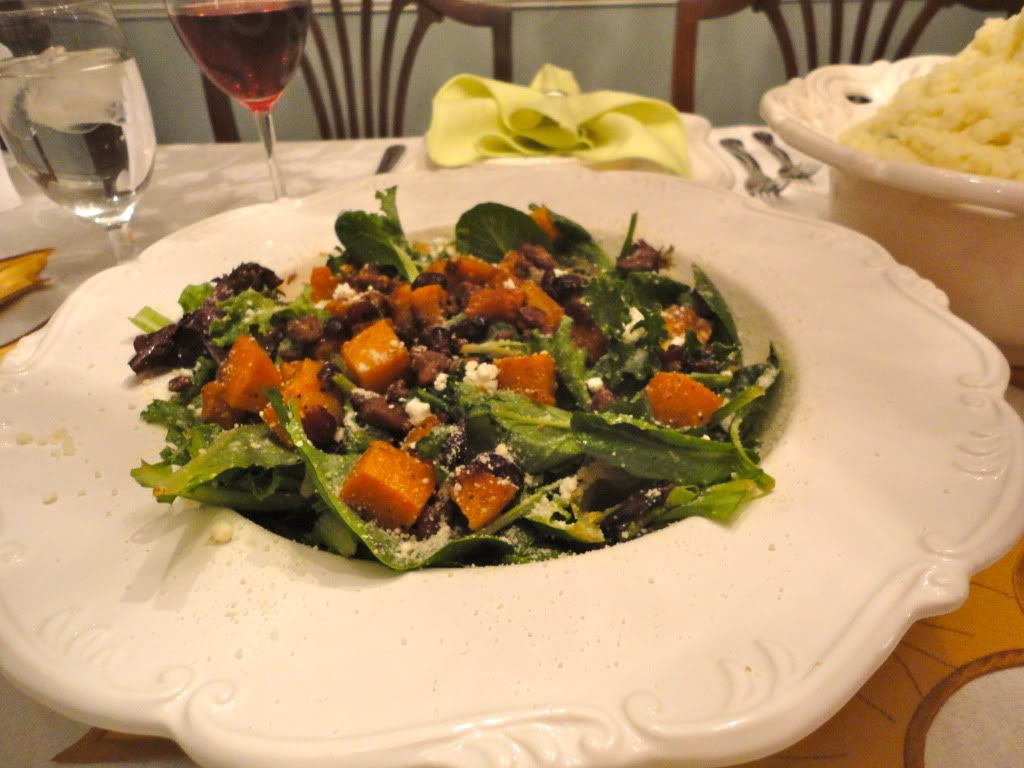
This salad is the perfect first course to a special occasion or holiday dinner. It's the kind that you talk about for many moons after. The men in my family were still gushing about it several days after Thanksgiving—yes Thanksgiving, when there are a million of other delicious dishes competing for attention. Yep, it was a dang good salad my friends.


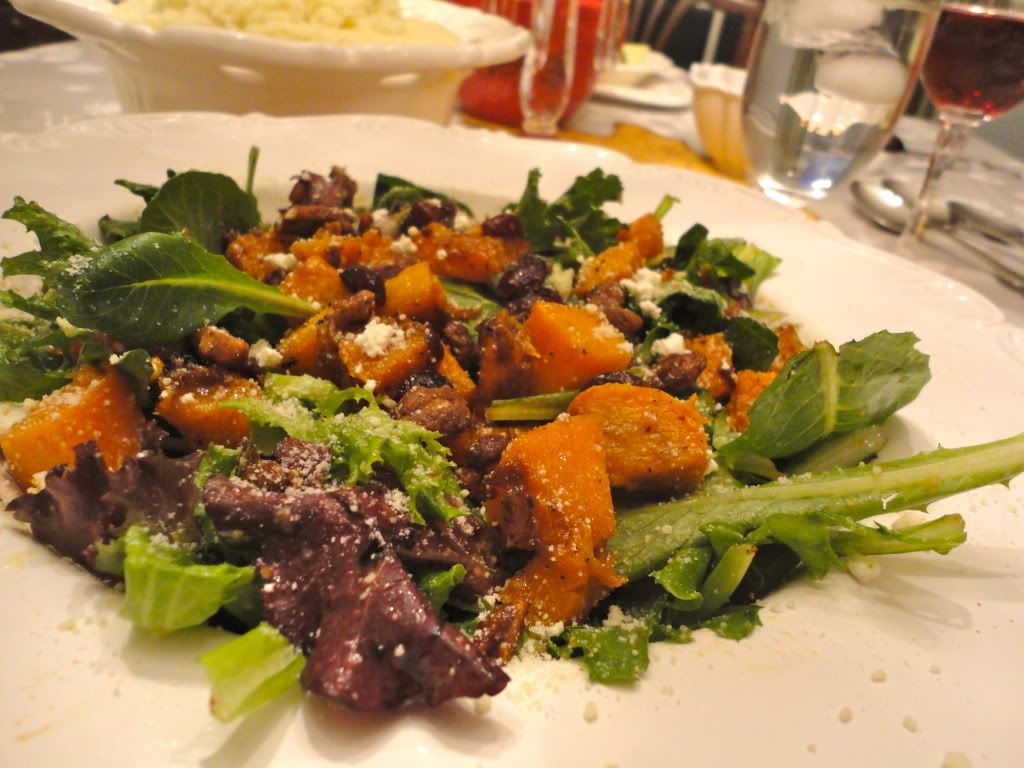
Seriously, how gorgeous is this salad? The roasted butternut squash is the star here. But combined with candied nuts, a little bit of cheese, cranberries and a warm apple cider vinaigrette, the result is positively delicious.


Roasted Butternut Squash Salad with Warm Apple Cider Vinaigrette
Adapted from Brown Eyed Baker & The Barefoot Contessa
Yield: 4-6 servings

Ingredients
  • 1 (1 to 1½-lb) butternut squash, peeled and diced
  • 2 tablespoons + ½ cup olive oil, divided
  • 1.5 tablespoon maple syrup
  • 2 teaspoons kosher salt, divided
  • 1 teaspoon ground black pepper, divided
  • ¼ cup dried cranberries
  • ¾ cup apple cider (can substitute apple juice)
  • 2 tablespoons apple cider vinegar
  • 2 tablespoons minced shallots
  • 2 teaspoons Dijon mustard
  • 1 tablespoon honey
  • Arugula or mixed greens
  • ¾ cup candied walnuts (or pecans)
  • ¼ cup goat cheese crumbles (optional)
  • ¼  cup grated Parmesan cheese (optional)
Preheat oven to 400 degrees. Place the butternut squash on a sheet pan. Drizzle with 2 tablespoons olive oil, the maple syrup, 1 teaspoon kosher salt and ½ teaspoon black pepper. Toss to evenly coat the butternut squash. Roast for 15 minutes, turning once. Add the cranberries and roast 5 more minutes.

While the squash is roasting, prepare the dressing. Combine the apple cider, apple cide vinegar and shallots in a small saucepan and bring to a boil over medium-high heat. Cook for 6 to 8 minutes, until the cider is reduced to about ¼ cup. Remove from heat, whisk in the mustard, ½ cup olive oil, 1 tablespoon of honey, 1 teaspoon kosher salt and ½ teaspoon ground black pepper. Prepare to be delighted!

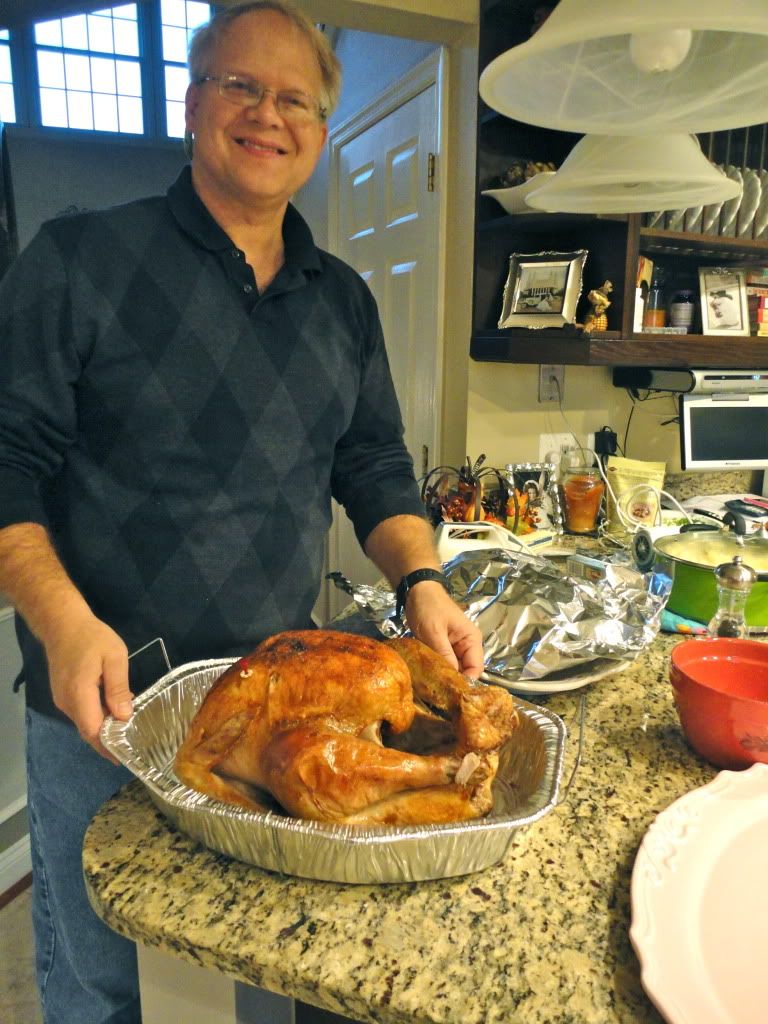
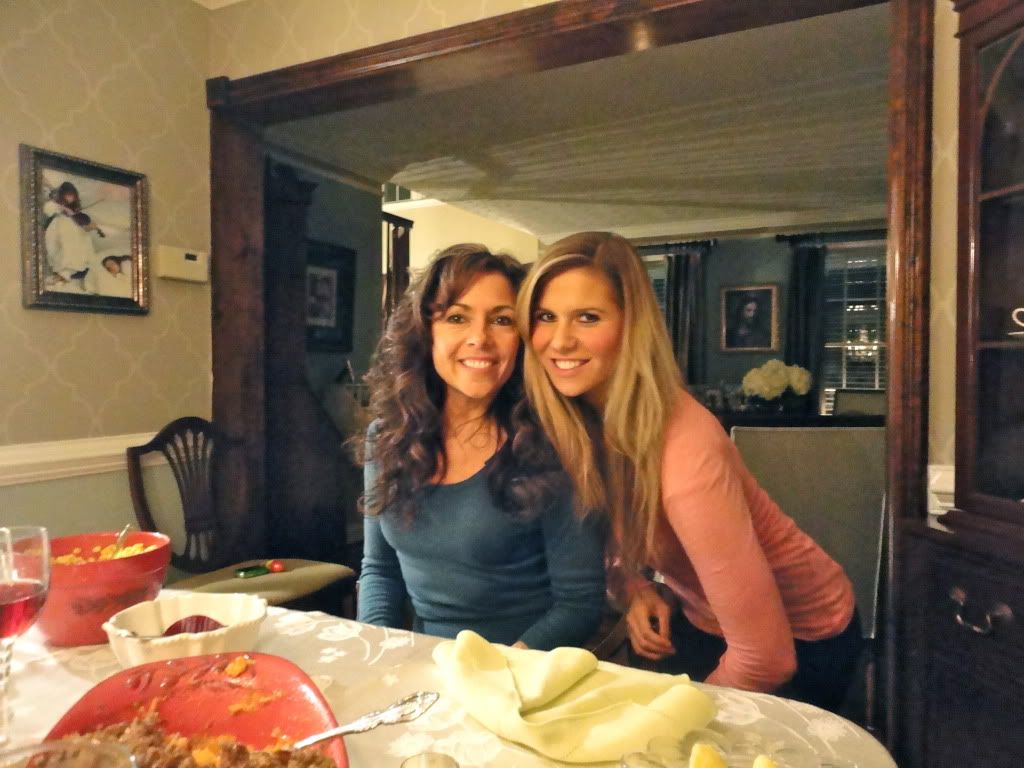
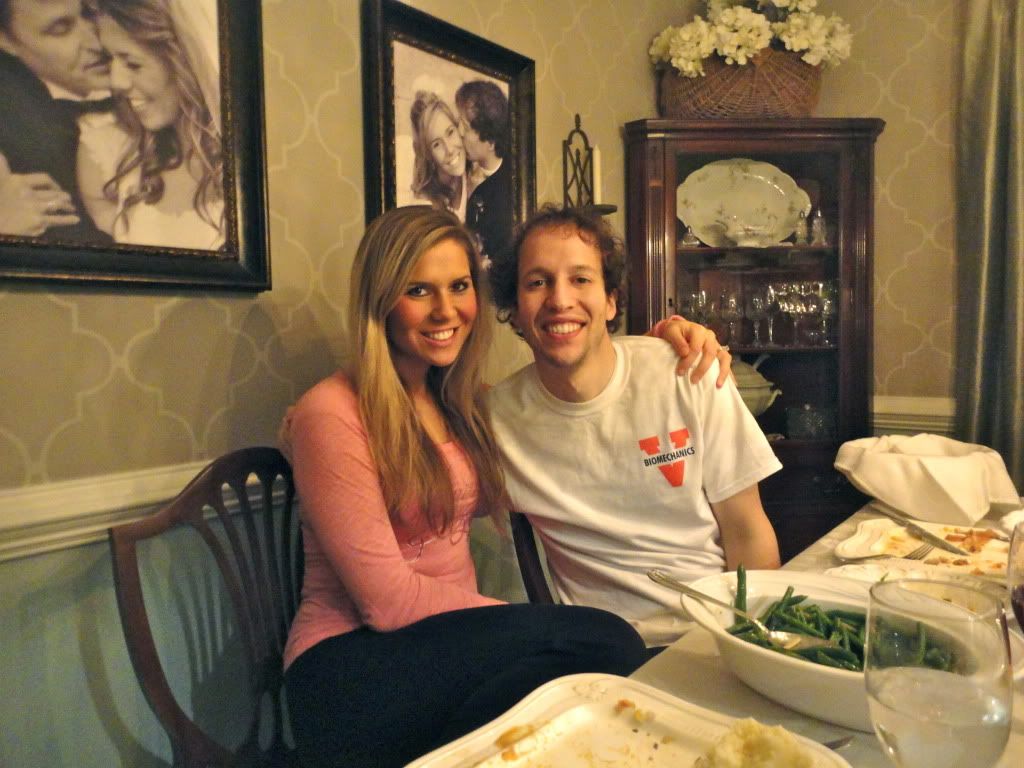
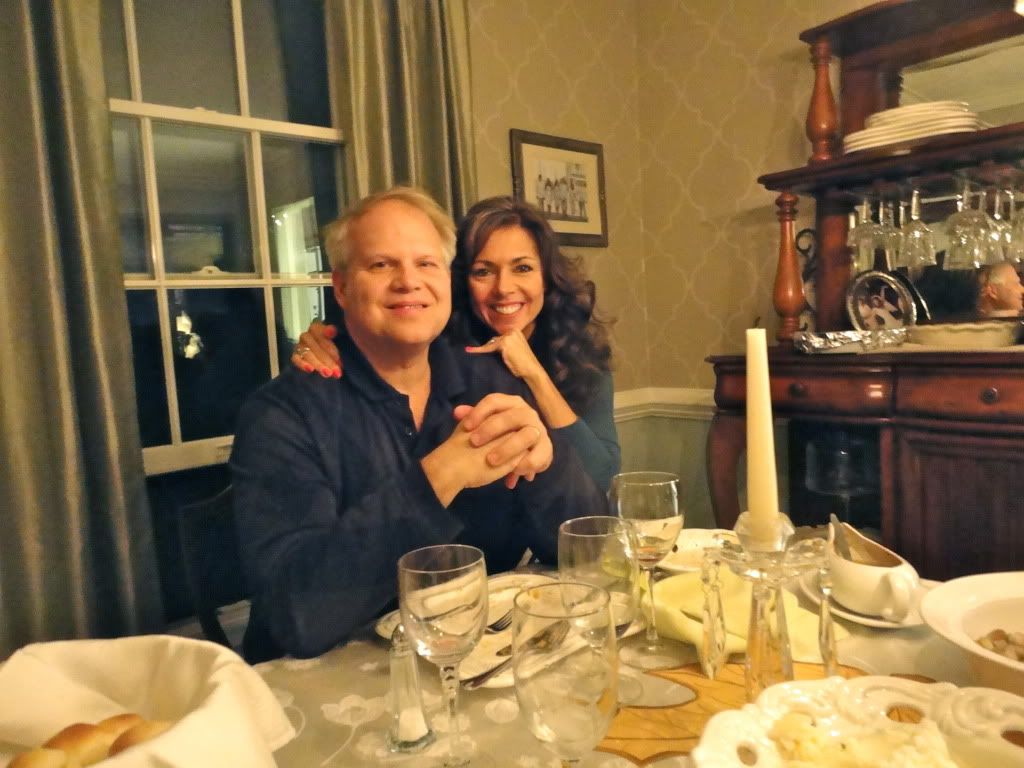
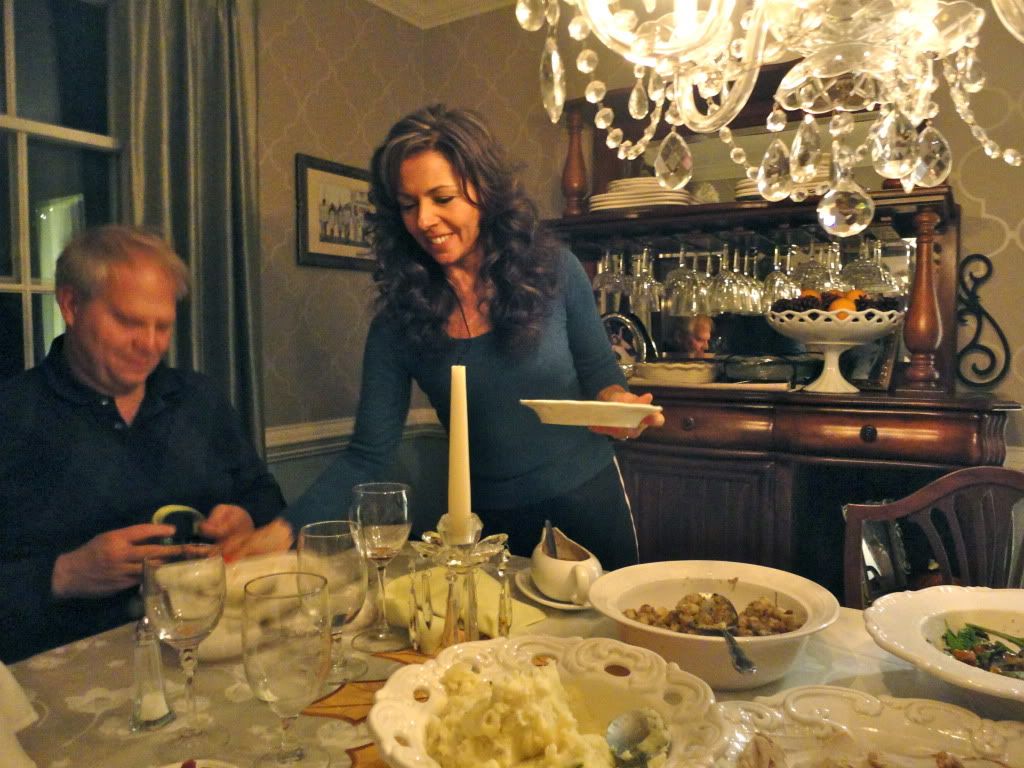
Hope everyone had a fantastic Thanksgiving! Mine was a dream as always thanks to my amazing mom who spent days in kitchen for days making things like Caramel Apple Cheesecake Pie! But that's for another day...

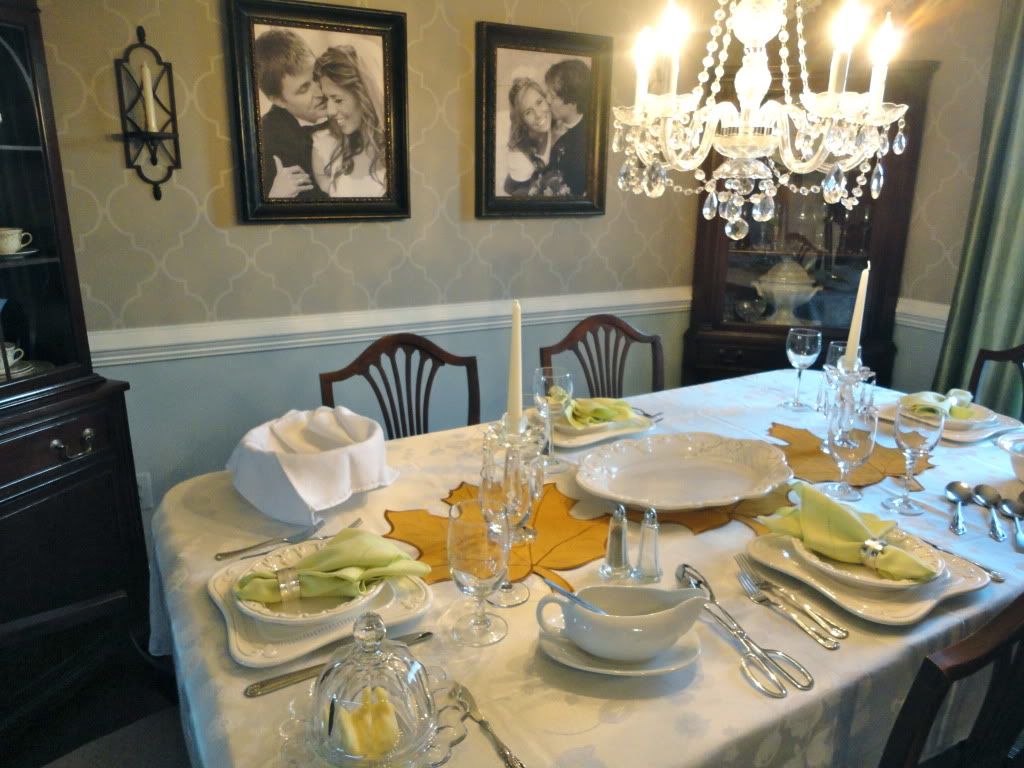
Thanksgiving is the best. It's always been up there with my favorite holidays because it's all about friends, family, fabulous food, and expressing gratitude for all of the amazing blessings that we have. This year I'm especially grateful to my Heavenly Father to be living in Charlottesville, which has to be one of the cutest towns in the world,  living close to my parents, having a great full time job in my field, and having lots of time to spend with my husband while he trudges through medical school.

I'm also grateful for having extra time to devote to this blog—for the chance to share lots of my favorite recipes as well as a glimpse into my life with all of you! Thank you for taking a bit of time out of your day to check out what I'm all about. Looking back on my first post a little over a year ago, I am so excited to see how far i've come as a baker, blogger and food enthusiast. Thank you for your love and support! It means the world!


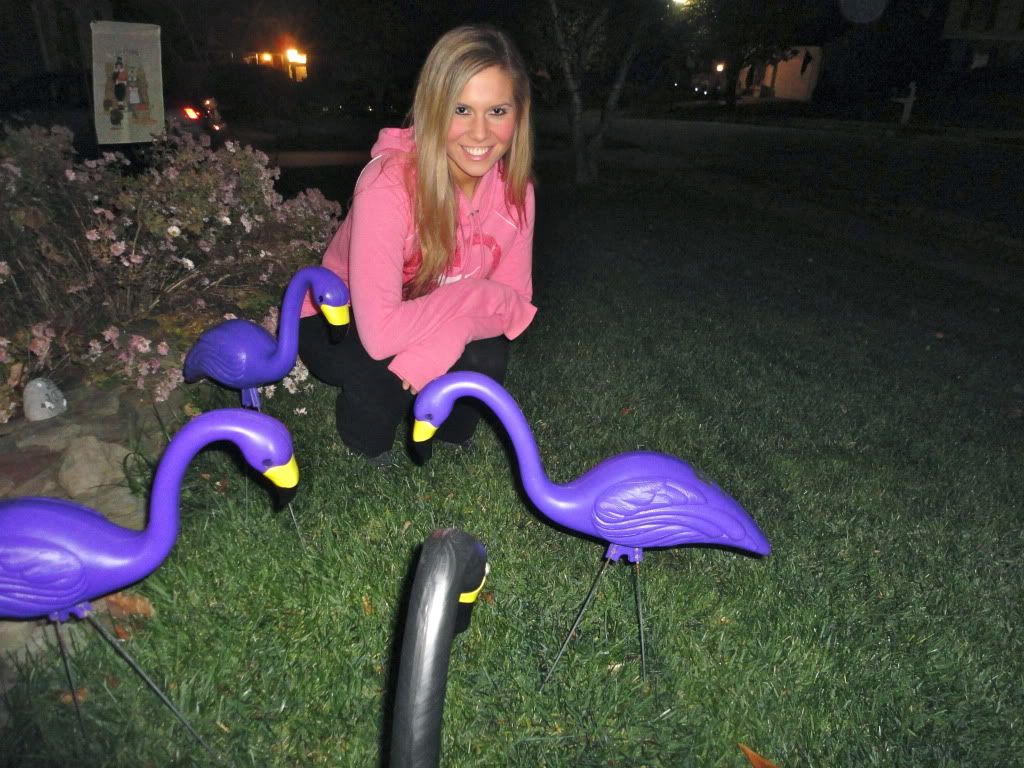
Had to throw a little love for the Ravens in there! These tacky purple flamingos are all over Baltimore. We spent the better part of the morning having a little family Turkey Bowl. So fun!


Monday, November 19, 2012

Happy Birthday Blissful Baking! (Chocolate Peanut Butter Passion Cake)


Happy Birthday to Blissful Baking! It has been exactly one year since I embarked on this fabulous journey. Thank you thank you for venturing into my little corner of the world. It has been thrilling to share with you the many culinary adventures that go on in my teeny kitchen each day. 
My heart leaps every time I see a hike in page views, read a comment, or hear from one of you. Thank you for your love and support! And a special thanks to my husband who has done an ungodly amount of dishes in the past year. 
I'm full of gratitude for this opportunity to share and expand my talents in such a fun and fulfilling way. If I could, I would send you all a fat slab or this  devastatingly delicious peanut butter chocolate cake. Instead, I challenge you to make it! Then you won't have to settle for just a slice. ;)


Chocolate Peanut Butter Passion Cake. If you aren't drooling, you don't like peanut butter. And if you don't like peanut butter, I'm at a loss for words. In short, I'm not sure that we can be friends. 
This cake needs not a lengthy introduction. It starts with a luscious homemade chocolate cake. My favorite recipe, I might add! It's filled with a deep, dark chocolate ganache and slathered with a positively addicting peanut butter frosting. It requires serious willpower not to wolf this stuff down by the spatula-full. Willpower that quite frankly, I am unable to muster. And it's topped with more ganache the indisputably best candy known to mankind, Reese's peanut butter cups. 


Chocolate Peanut Butter Passion Cake

My Favorite Chocolate Cake:
Adapted from: I Am Baker
  • 1 3/4 cups all-purpose flour
  • 2 cups sugar
  • 3/4 cups good cocoa powder (plus more to dust pans)
  • 2 teaspoons baking soda
  • 1 teaspoon baking powder
  • 1 teaspoon kosher salt
  • 1 cup buttermilk, shaken
  • 1/2 cup vegetable oil
  • 2 large or extra large eggs, at room temperature
  • 1 teaspoon pure vanilla extract
  • 1 cup boiling hot water (or freshly-brewed coffee if you prefer)
Start by baking the chocolate cake. I like to use 8 inch pans because it makes for a higher cake. I like my cakes high and mighty. But 9 in works beautifully as well.  Preheat the oven to 350 degrees. Prepare you cake pans by greasing them and then dusting well with cocoa powder. For extra security, I always grease, dust and then cut out wax paper circles for the bottom of each pan, then grease and dust them as well. Sounds like a lot of work but it only takes a couple of minutes! And it provides me great piece of mind that my cakes will pop out like champs.

Sift the flour, sugar, cocoa, baking soda, baking powder, and salt into the bowl of a stand mixer fitted with a paddle attachment and stir to combine. 

In another bowl, combine the buttermilk, oil, eggs, and vanilla. With the mixer on low speed, slowly add the wet ingredients to the dry. With mixer still on low, add the hot water and stir just to combine. Pour the batter into the prepared pans and bake for 35 to 40 minutes, until a toothpick comes out clean. Cool in the pans for 30 minutes, then turn them out onto a cooling rack and cool completely.

Filling (ganache): 
  • 8oz semi-sweet chocolate, roughly chopped
  • 8oz heavy cream
  • 1/2 cup creamy peanut butter
  • 1/2 cup Reese's peanut butter cups, roughly chopped

Place chocolate in a medium bow. Heat the cream until it just begins to boil. Pour it over the chocolate and whisk until the chocolate melts. Then whisk in the peanut butter until it's incorporated and smooth. Set aside 1/4 of the ganache for the first layer of frosting. Cool the other 3/4 completely, then gently stir in the peanut butter cups.
Frosting:
  • 1/2 cup creamy peanut butter
  • 1/2 cup butter, at room temperature
  • 2 tsp vanilla extract
  • 2 cups powdered sugar

Cream together the butter and peanut butter with a pastry blender. Add the vanilla, then the sugar. Beat with an electric mixer until light and fluffy. 
Assembly:
Place one 8 or 9-inch round on a cake stand or plate. Cover the top in the peanut butter fudge filling. Place the second 9-inch round on top. Using the reserved filling, spread a thin layer on the outside of the cake. Refrigerate until the fudge is set and firm to the touch. Slather the whole thing in the peanut butter frosting. Decorate with peanut butter cups.


Saturday, November 10, 2012

Candied Sweet Potatoes


Please don't be offended by my obsession with sweet potatoes. I know this is the starch's second debut in a row, but I only do it because Thanksgiving is rapidly approaching and I want you to have in your possession the most fabulous sweet potato side known to man!

Sweet potatoes are gifts from heaven. But when candied with brown sugar and sprinkled with nuts and cayenne pepper? I can barely stand how delicious these are. I am salivating just thinking on it. And check out that gorgeous orange hue! It would complement your Thanksgiving spread so beautifully! Will you pretty please be sure to share these delightful gems with your guests this lovely holiday? You'll be thankful that you did!


Candied Sweet Potatoes
Inspired by Martha Stewart
Serves 6-8

Ingredients 
  • 5 lbs sweet potatoes 
  • 2-3 tablespoons olive oil
  • salt (I like sea salt)
  • 4 tablespoons salted butter, cut into small pieces
  • 4 tablespoons light brown sugar
  • 1/3 c. pecan pieces
  • 1/8 tsp. cayenne pepper

Preheat oven to 400 degrees. Peel potatoes, halve lengthwise and cut into little half moon shapes, about ½ inch thick. Toss with 2-3 tablespoons of olive oil until coated. Season with salt.

Roast for 25-30 minutes, turning once or twice. Sprinkle as evenly as you can with bits of butter, brown sugar, pecan pieces and cayenne pepper. Bake until sugar is caramelized and hardening, about 10 minutes. Toss gently and serve immediately. 


Wednesday, October 31, 2012

Sweet Potato Hash

A little off the main drag of Gradon's home town in Sandy utah sits a greasy spoon called the Belgian Waffle. Although the waffles are nothing to sneeze at, its real speciality is the “garbage hash.” It aint pretty, but it sure is scrumptious. Gradon douses it in tabasco sauce and nearly licks his plate clean every time.


Now that we're living on the other side of the country the poor man has been deprived. So I set out to mimic the famous dish, and according to Gradon i've managed to do it!

Since Gradon's birthday falls in October, I incorporated fall flavors by making a sweet potato hash. It turned out quite delicious! It's a wonderful pairing of sweet and savory. I knew I had succeeded when Gradon refused both ketchup and tabasco sauce. He said he didn't want to overpower the flavors. Say what? This is a man obsessed with sauce folks. Like he likes a little pizza with his ranch.


Enjoy this as an autumn breakfast! Or dinner for that matter. I topped it with fried eggs and served it alongside pumpkin biscuits.

Sweet Potato Hash
Adapted from Sunny Anderson
  • 3 strips bacon, chopped
  • 2 ½ tablespoons olive oil
  • 2 medium sweet potatoes (about 8 ounces each) peeled and diced
  • ½ cup chopped red onion
  • 3 garlic cloves, thinly sliced
  • 1 fresh jalapeno, chopped
  • ½ tsp ground cumin
  • salt and freshly ground pepper to taste (I used Lawry's seasoned salt)


In a large pan (I used my 12 inch iron skillet) over medium heat, add the bacon and olive oil. After a minute or so, add the sweet potatoes and spread out as much as possible and let them rest in one layer. Leave them to cook until browned about 5 minutes. Then toss and let stand until most of the potatoes are browned and the bacon bits are crisp, about 3 to 5 minutes longer.

You will have uneven browning, but that's what gives it a nice rustic look! Using an iron skillet will also add a nice crust to your hash, ensuring a deep flavor. But if you don't have one, it'll still be great. Add the onions, garlic, jalapenos, cumin and salt and pepper. 


Allow everything to heat for another 2 minutes. Taste and season with more salt and pepper if necessary.

I like to think that I planned a pretty sweet 26th birthday for Grades this year! I made him this delicious hash as well as a heart shaped tiered spin off of a "better than anything" birthday cake. Gradon has a special love for sweetened condensed milk so the cake was pretty much drowning in it. Still, he may have been able to handle more! I'm so pleased that my hubby has a sweet tooth. 

Although the cake was very tasty, the birthday highlight had to be seeing Eric Church in concert! We both LOVE country music so it was a real treat--and so lucky that his appearance landed right smack dab on G's birthday! It was very cool to sing some of our favorite songs along with him and the rest of the crazy crowd. And also nice to only need to walk across the street to the John Paul Jones Arena instead of having to sit in traffic. Other birthday fun included ordering colossal burgers at Boylan Heights and opening a few presents. What a grand day it was!


Monday, October 22, 2012

Pumpkin Dinner Rolls

I've been keeping secrets from you. Big, warm, doughy delicious secrets. But I did it for your own good. You see, I was saving this recipe for you so you could have it just in time for Thanksgiving!

These pumpkin rolls are a lovely compliment to your Thanksgiving spread. They are soft, plump and perfectly spiced.

The dough for these pumpkin rolls drives me wild! The color is rich and magnificent, and studded with little hints of spice.

Try them with this incredible fluffy honey butter and they will certainly contribute to your post-Thanksgiving coma. In a good way!

Pumpkin Dinner Rolls
Adapted from The Sister's Cafe

Ingredients
  • 4 tsp active dry yeast, or approximately 2 envelopes
  • 1/4 cup milk (not skim)
  • 5 1/4 cups all-purpose flour
  • 1 1/2 tsp cinnamon
  • 1 tsp ground ginger
  • 1/4 tsp ground cloves
  • 1/4 tsp ground cardamom
  • 1/3 cup brown sugar
  • 1 1/2 tsp salt
  • 2 large eggs
  • 1/4 cup melted butter
  • 15 oz can of pure pumpkin
  • egg wash (1 egg lightly beaten with 1 tbsp of water)
Heat milk in the microwave until it feels warm (but not hot) on your finger and pour into the bowl of your stand mixer. Stir in the active dry yeast, and let stand for at least 5 minutes. Be sure that it fizzes at least a little. If it doesn't fizz, your yeast is dead, so please start again!

Combine the flour, spices and sugar and mix well. In a separate large bowl, lightly beat the two eggs, then stir in the melted butter, and the pumpkin. 

After the yeast has been activated, add the wet ingredients directly into the bowl of your stand mixer, and stir to combine. Then add 1/2 of the dry ingredients (flour, sugar & spices) from the other bowl, and stir to mix the dry and wet ingredients together. After it is well mixed, add the remaining 1/2 of the dry ingredients and mix again. Using the dough hook, let the stand mixer knead the dough until it is smooth and still somewhat sticky (3-5 minutes). Cover with a clean towel or plastic wrap and let rise (preferably in a somewhat warm place) for approximately 1 hour (it will double in size).


Lightly grease a large baking dish or two, if needed. Then, remove the dough from the bowl, place it on a lightly floured surface and use your hands and a rolling pin to shape into a rough rectangle. Use a pizza cutter to section into 16-20 little squares. 

Then use your hands to shape into rolls, pinching the edges and placing the pinched sides face down into the pan so they are just barely touching the sides of one another. They will keep expanding during the second rise and in the oven as well.


After your dough is shaped, cover the baking dish loosely, and let it rise for another 1-1 1/2 hours.


Once your bread is ready to bake, preheat the oven to 350 and brush the top lightly with the egg wash. Bake bread for approximately 30-35 minutes. Slather with honey butter if desired!


Sunday, October 7, 2012

Skillet Apple Crisp

I'm not an apple pie kinda girl. I could take it or leave it.

I have somewhat of a beef with pie crusts in general. Don't know how it happened, because my mom thinks it's the best part of the pie. Blasphemy! It's without question the ooey gooey inside. Am I right?

What I do go gah gah over is an awesome apple crisp. And this is it folks. This is the apple crisp that trumps all others. It involves tender (but not mushy gushy) apples enveloped in a dreamy syrup and covered in a perfectly sweet and crispy crumble.

Ice cream is not optional here! If you're a whipped cream kinda person you can substitute that. Drizzle a little caramel on top and prepare to be delighted beyond all reason.


The iron skillet is the secret to perfection here. I'm starting to think my iron skillet has been my best investment ever. I use it weekly. If you have yet to discover the wonders of the iron skillet, please go and get one! I got mine at Bed, Bath and Beyond for like 15 bucks. And it has repaid itself 100 fold by now I'm sure.


But back to this blessed crisp. I made this when my dad-in-law came to Cville all of the way from Utah last week and he couldn't get enough! In fact, all of us ate so much that we got sick off of it and spent the remainder of the night moaning and groaning in pain. So just make sure you have a few others to share this with, or you'll end up with a stomach ache. It's just so easy to keep scraping a little bit more out of the pan until well, it's all gone.

Skillet Apple Crisp
Adapted from: Brown Eyed Baker & Cooks Illustrated
Yield: 6 to 8 servings

For the Topping:
  • ¾ cup flour
  • ¾ cup finely chopped pecans
  • ¾ cup old-fashioned rolled oats
  • ½ cup light brown sugar
  • ¼ cup granulated sugar
  • ½ teaspoon ground cinnamon
  • ½ teaspoon salt
  • ½ cup unsalted butter, melted
For the Filling:
  • 3 pounds Golden Delicious apples (or any sweet variety like crisp, pink lady, gala, fuji—do not use granny smith in this recipe) peeled, cored, halved, and cut into wedges
  • ¼ cup granulated sugar
  • ¾ teaspoon ground cinnamon
  • 1 cup apple cider
  • 2 teaspoons lemon juice
  • 2 tablespoons unsalted butter
Start with the Topping. Combine the flour, pecans, oats, brown sugar, granulated sugar, cinnamon and salt in a medium bowl. Stir in the melted butter until the mixture is moistened and crumbly. Set aside.

For the filling, toss the apples, granulated sugar and cinnamon together in a large bowl. Set aside. Bring the apple cider to a simmer in a 12-inch ovensafe skillet over medium heat. Cook until reduced to ½ cup, about 5 minutes. Transfer the reduced apple cider to a small bowl or liquid measuring cup. Stir in the lemon juice and set aside.

Heat the butter in the now-empty skillet over medium heat. After about a minute, add the apple mixture and cook, stirring frequently, until the apples begin to soften and become translucent, 10-12 minutes. (Do not fully cook the apples) Remove the pan from the heat and gently stir in the apple cider mixture and toss to coat the apples.

Sprinkle the topping evenly over the apples. Place the skillet in the oven and bake until the fruit is tender and the topping is golden brown, 15 to 20 minutes. Cool until warm, 5-15 minutes, and serve with a big scoop of vanilla (or in my case cookie dough) ice cream. To. Die. For.

Grades and I had the most marvelous couple of days spending time with his dad. We saw all of the sights, from Jefferson's Monticello, to Oriole Park, to Washington, D.C. It was a bit exhausting--we must have walked a million miles in D.C., but I wouldn't trade any of it! We're so delighted that he made the trip. It was an unforgettable experience having him here with us. 


Thursday, October 4, 2012

Chicken Prosciutto Rollatini

Chicken can be super cute. These rollatinis are stuffed with prosciutto, cheese and red onion. My husband hates red onion but somehow loves these, so if you're not an onion lover, never fear! I'm willing to bet you will love these. 

Buy the thin chicken cutlets at the grocery store—otherwise you'll need to slice a regular chicken breast in half or pound it.

I resisted the urge to cover these rollatinis in an indulgent sauce and used lemon juice as a substitute for some of the oil in an effort to keep it on the lighter side.


Chicken Prosciutto Rollatini
Modified from Skinny Taste & Julia's Healthy Italian


Servings: 8
Serving Size: 1 chicken rollatini
Old WW Points: 4 pts
Points+: 4 pts
Calories: 168.6
Fat: 6.4 g
Protein: 22.1 g
Carb: 4.6 g
Fiber: 0.7 g
Sugar: 0.0 g


Ingredients:

  • 8 thin chicken cutlets, 3 oz each
  • 4 slices (2.8 oz) thin lean prosciutto, sliced in half
  • 4 slices Sargento reduced fat provolone or mozzarella, sliced in half
  • 1/2 cup whole wheat Italian seasoned breadcrumbs
  • 1/4 cup shredded parmesan cheese
  • 1 lemon, juice of
  • 1 tbsp olive oil
  • fresh ground pepper
  • 1/4 red onion, sliced
  • olive oil non-stick spray
Combine breadcrumbs and grated cheese in one bowl and olive oil, lemon juice, and pepper in another bowl. Preheat oven to 450°. Lightly spray a baking dish with nonstick spray.

Dip the chicken in the lemon-oil mixture, then coat in breadcrumbs mixture. Place each cutlet on a cutting board and lay 1/2 slice prosciutto, 1/2 slice cheese and a few slices of red onion on one side of the chicken cutlet.  


Roll up and place seam side down in a baking dish. Secure with a toothpick if needed. Repeat with the remaining chicken. When finished, top with remaining crumbs and spray lightly with oil. Bake 25 - 30 minutes and serve immediately.


It's been a while since I recapped on recent events, and I'd better put first things first. I'm late on this, I know, but on May the 12th, my dear friend Lisa Beth Jones was wed to her high school sweetheart, Christian. 

I can't express just how much I love and cherish her—my best friend since second grade—my lunch buddy, dance partner and co-founder of the buttercrunch cookie club at Kingsville Elementary. My fellow sun worshipper by the pool and at the beach in the summer time. And my partner in crime while playing hookie at the gunpowder river in high school. Her family is like my family, and I just wouldn't be the same without her.


She is kind, sensitive, adventurous and a free spirit. Oh, and she's totally gorgeous, as you can tell!

Here are some shots of her special day taken by Shelby Leigh Photography. She did a beautiful job capturing the spirit of the day.